| Anchor | ||||
|---|---|---|---|---|
|
| Table of Contents | ||
|---|---|---|
|
GeoZone areas, drawn using Google Maps, can be applied to X Dispatch for zone zone rating. This is useful when zip code zones are not granular enough, or a mapped zone is preferred.
| Note |
|---|
Google Maps is a 3rd party tool used to create kml file types that are imported into X Dispatch. CXT Software does not maintain, support, or develop this tool. |
GeoZones override zip code zones. Orders for addresses in a GeoZone can only be rated by zone if the base rate details include the zone reference for that GeoZone. See the GeoZoning example below. This is because addresses that are in a GeoZone will always be located in that zone, regardless of customer, order type, or rate chart since X Dispatch the Operations App looks at zones with GeoZones first.
GeoZones cannot overlap. For example, one customer wanted to define one set of Zones for On Demand orders and one set for Distribution orders. This cannot be done, because there is no way to indicate which Zone you want an Order to be rated in. Every Order will be rated by the first GeoZone returned by X Dispatch's the search regardless of Order Type or intention.
...
Create and Export Zone Maps
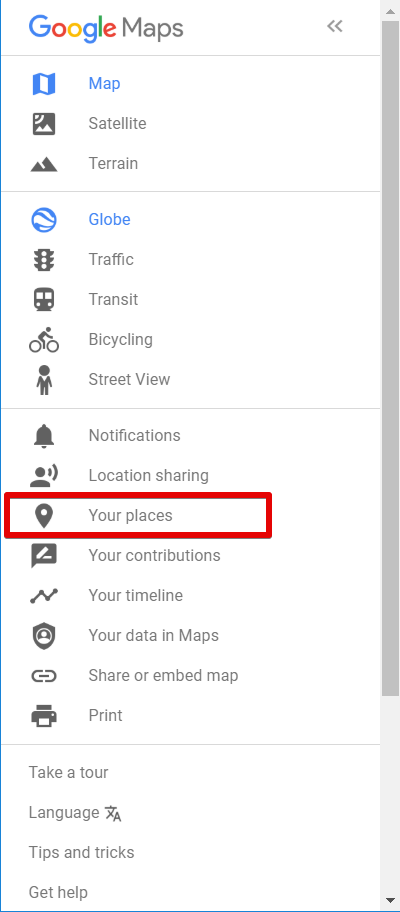
Go to Google Maps in your web browser.
Click on the menu at the top left.
...

Select Your Places.
...
Click Maps on the right side of the menu.
...
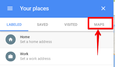
Click Create Map at the bottom.
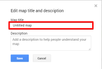
Click on "Untitled map" at the top left of the screen.
...

...

...
Give the map a descriptive name and click Save.
...
Double click on the words “Untitled Layer” and type in a descriptive name.
...

Zoom in to the area you would like to create zones for by either:
...
Use the search bar to narrow down your map view.
Scrolling the mouse wheel forward until you reach the zoom level you are comfortable with.
Use the + - buttons at the lower right of the screen.
...
...
If you need to move the map, make sure you are clicked on the “hand icon” and left click+hold to move the map to your desired location.

...
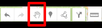
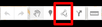
Click the “line selection” button on the toolbar and select “draw a line” to draw a box around the area you would like to include in your zone.
...
...

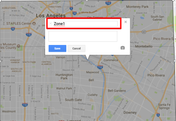
When you are done drawing the box you will see a pop up that will allow you to name the zone and enter notes, after renaming, click Save.
...
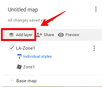
To add more zones, click on the button labeled Add layer and follow steps 8-12 for as many zones as you would like to create.
...
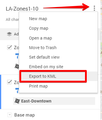
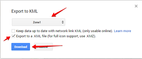
Click on the three dots to the right of your maps name and select Export to KML.
...
On the pop up click the arrows select the zone you named previously, check the box at the bottom next to Export to a .KML file..... and click the Download button.
...
| title | Quick Tip |
|---|
...
Make sure the layer is selected in the dropdown menu. If the entire map is selected, the format of the kml file will be unreadable by
...
the Operations App.
...
Repeat step 15 for all of your zone maps and close Google Maps.
...
| title | Quick Tip |
|---|
...
Make sure you know where the .kml files are saved.
Importing Zone Files
...
| Warning |
|---|
It is not recommended to add a GeoZone file to a zip code record. |
Go to Maintenance > Zones.
...
Create a new zone with "N/A" as the Postal and "0001" as the From Postal Plus and the To Postal Plus. Subsequent GeoZones can be incremented 0002, 0003, etc. See Zones.
...
...
It is not recommended to add a GeoZone file to a zip code record.
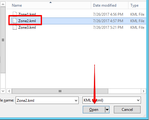
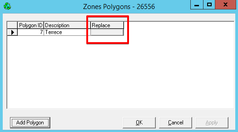
Once your zip code is found, go to the column named Polygons and click on the box to open the prompt.
...

Select the appropriate zone .kml file for your zip code and click Open.
...
...

Once you have selected the file, the name will show in the Description box. Click OK.
...

...
| title | Quick Tip |
|---|
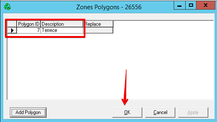
To replace the .kml file click on the Replace column.
...
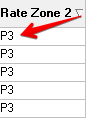
Go to the empty Rate Zone box you would like to use with the rate zone chart and add a rate zone code.
...
Applying GeoZone Rating
Configure the rate chart to use the GeoZone.
Go to Maintenance > Rate Charts.
...
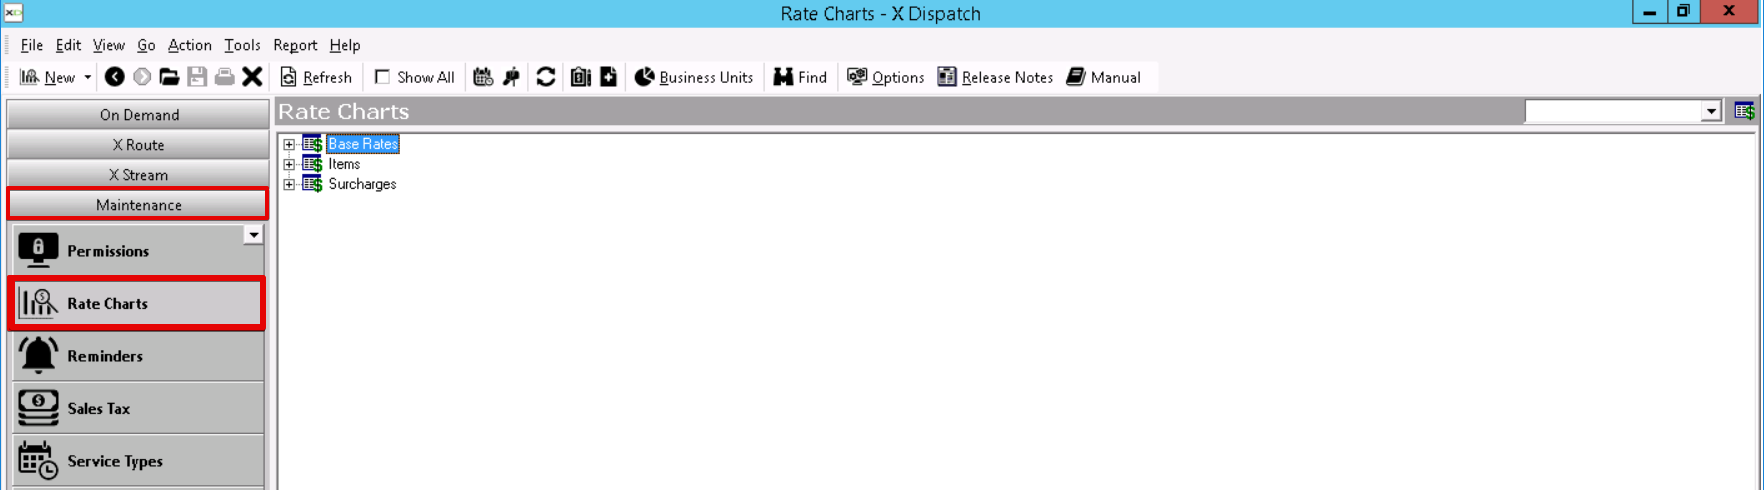
Select the rate chart you would like to add to the GeoZone or create a new rate chart. See Rate Charts.
...
...

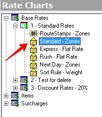
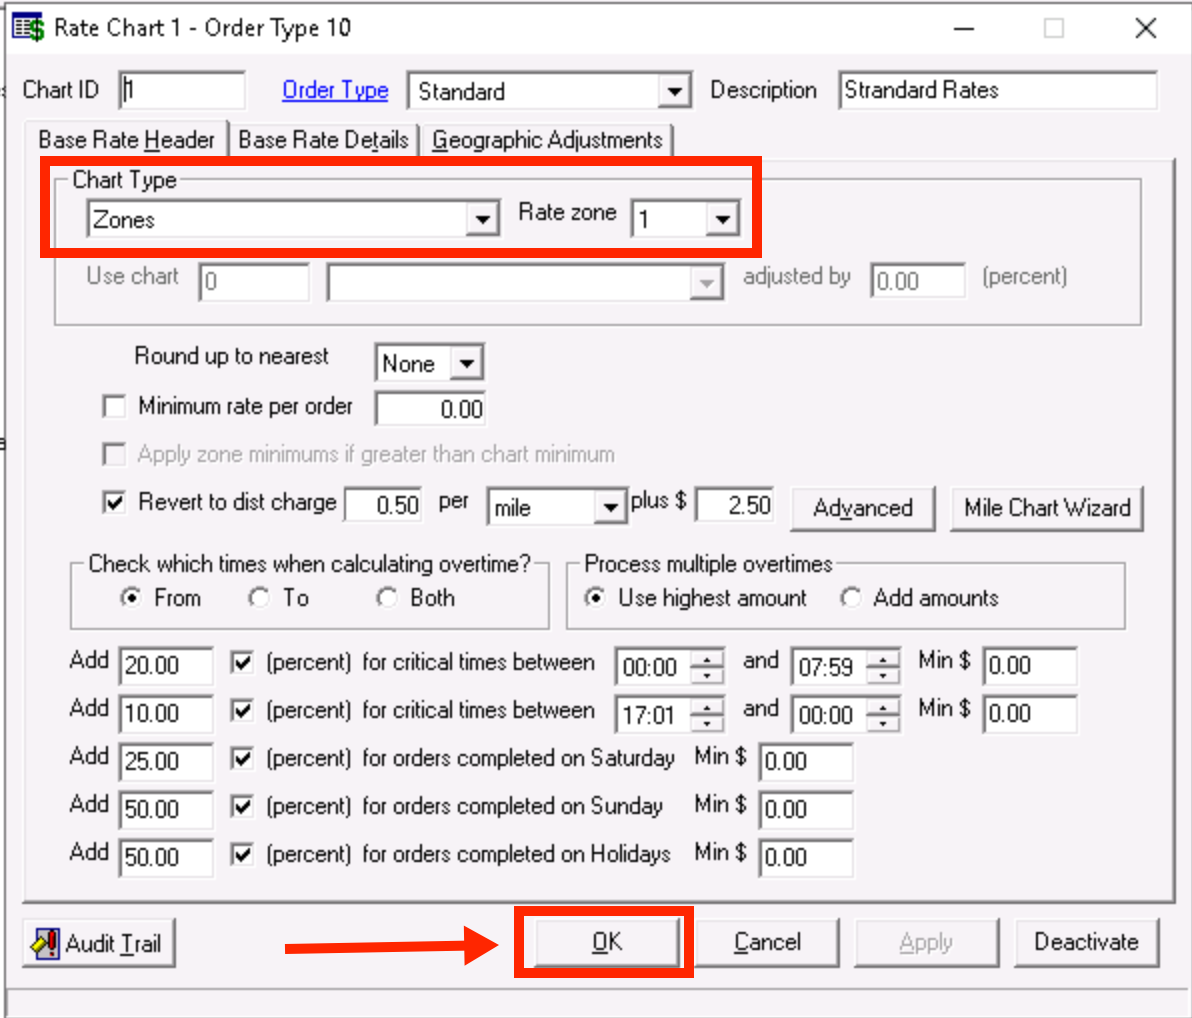
Once the rate chart is open, make sure the Chart Type is set to "Zones" and the Rate Zone is set to a zone with the associated GeoZone. Then click OK.
...
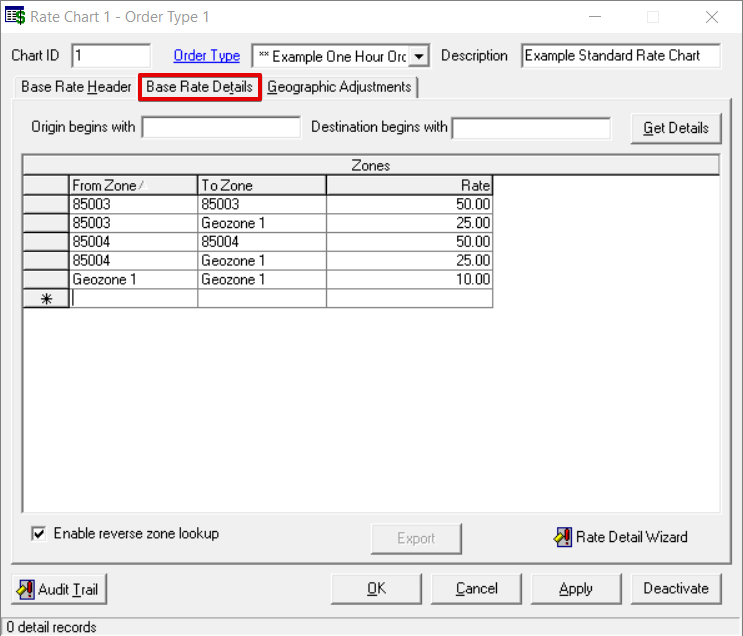
Enter the Base Rate Details for the GeoZone.
...
ExampleAnchor example example
...
| Page Properties | ||
|---|---|---|
| ||
|