| Info |
|---|
For driver documentation see Stop Info. |
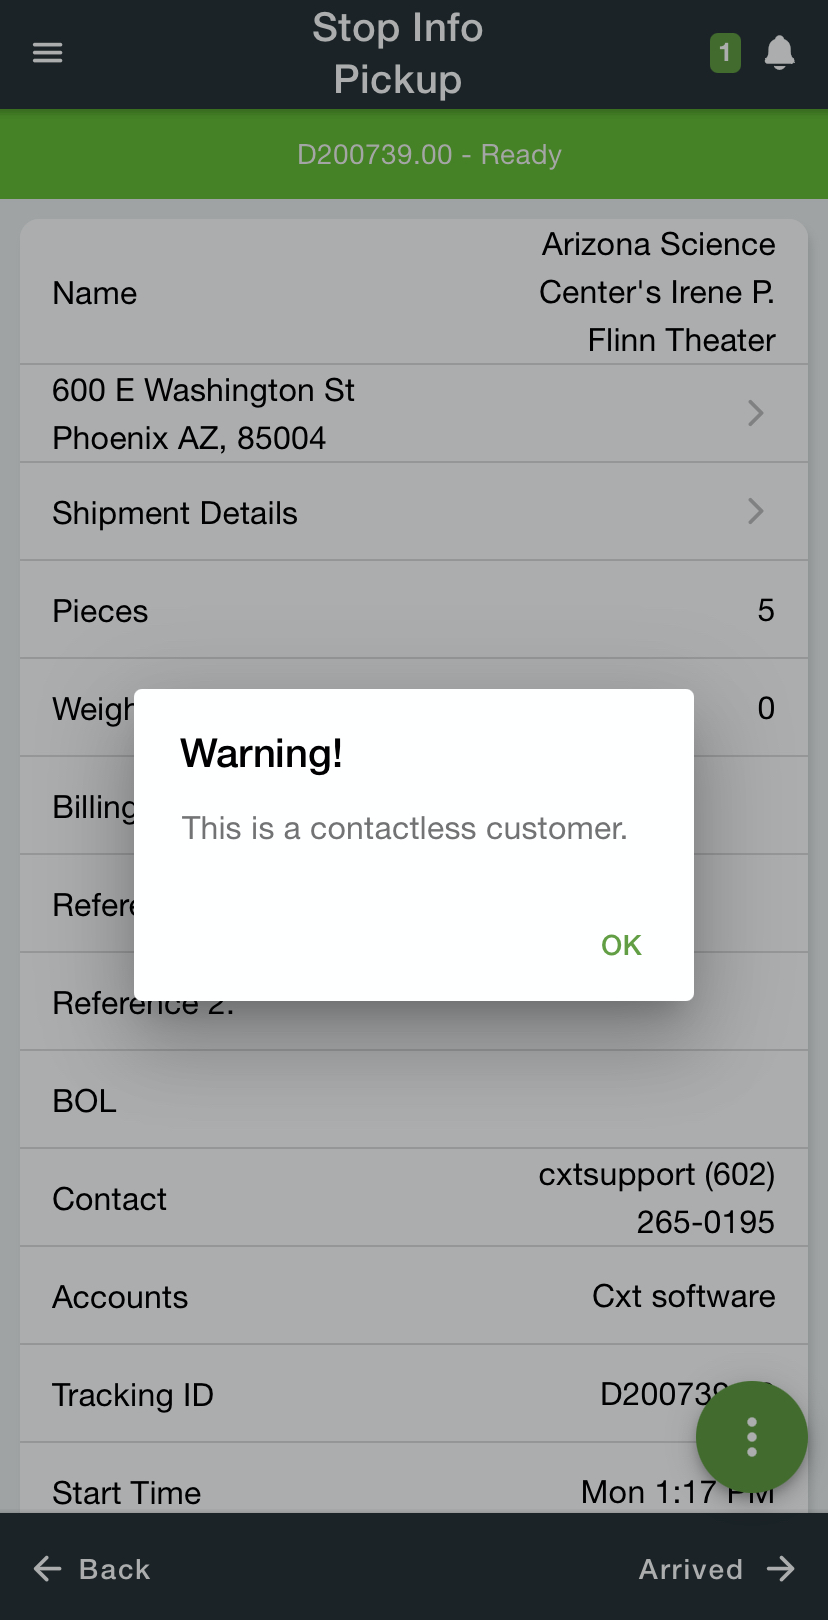
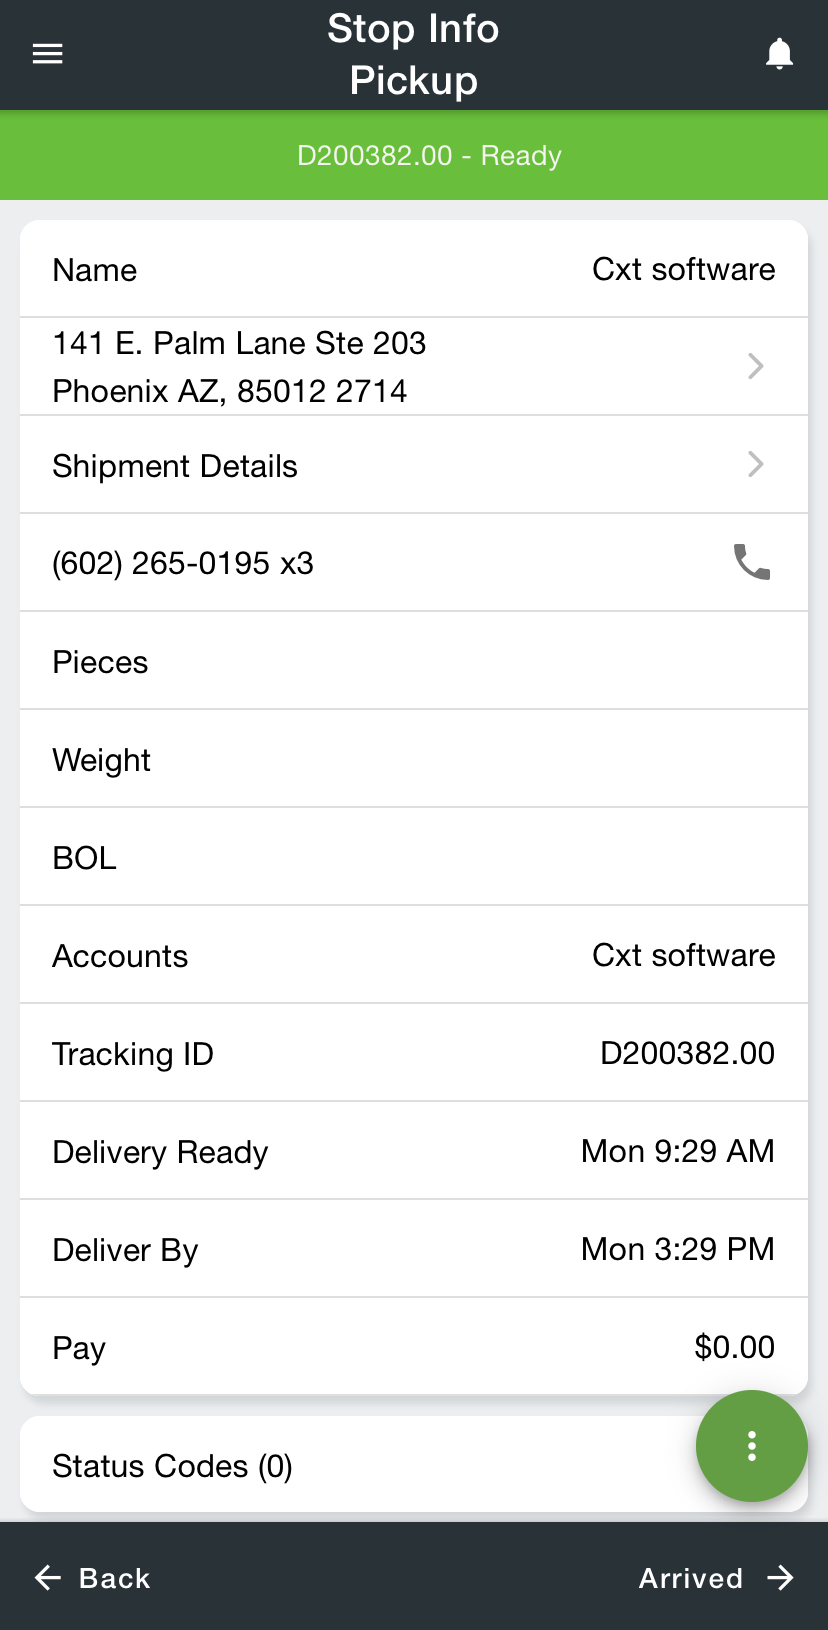
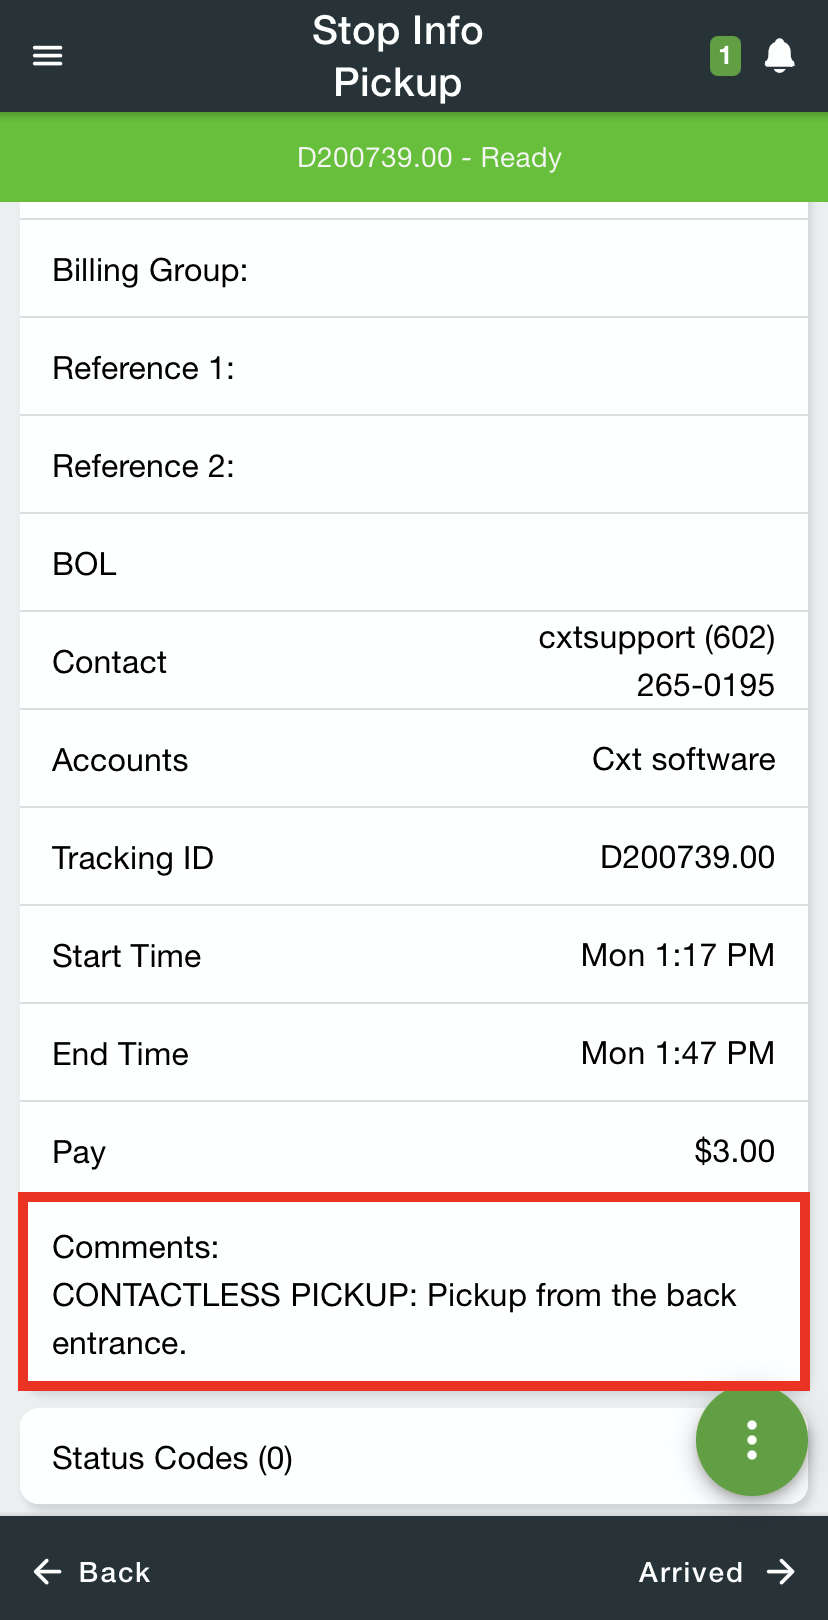
Drivers can view and edit information about a stop on the Stop Info screen.
For Nextstop 3.0.16 or newer, the driver will see a pop-up to let the driver know that the stop is for a contactless customer.
| Expand | ||
|---|---|---|
| ||
 |
Field Name | Description | |||||||
|---|---|---|---|---|---|---|---|---|
Name | Name of the stop. | |||||||
Address | Tap on the stop’s address to view the address in the driver’s mobile device’s default map app. | |||||||
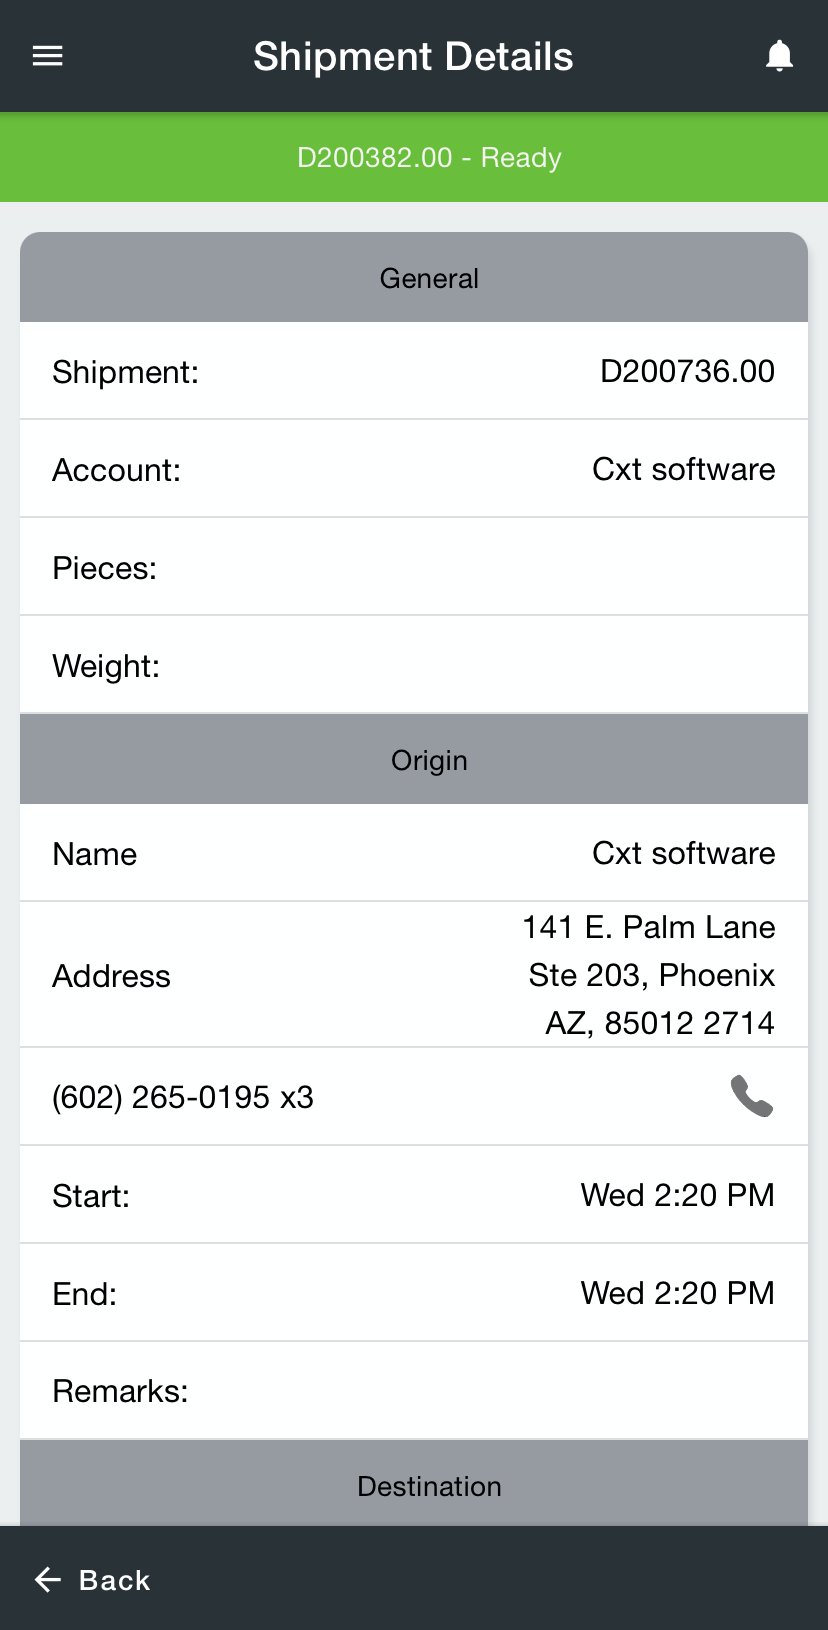
Shipment Details |
Tap to see the shipment details.
| |||||||
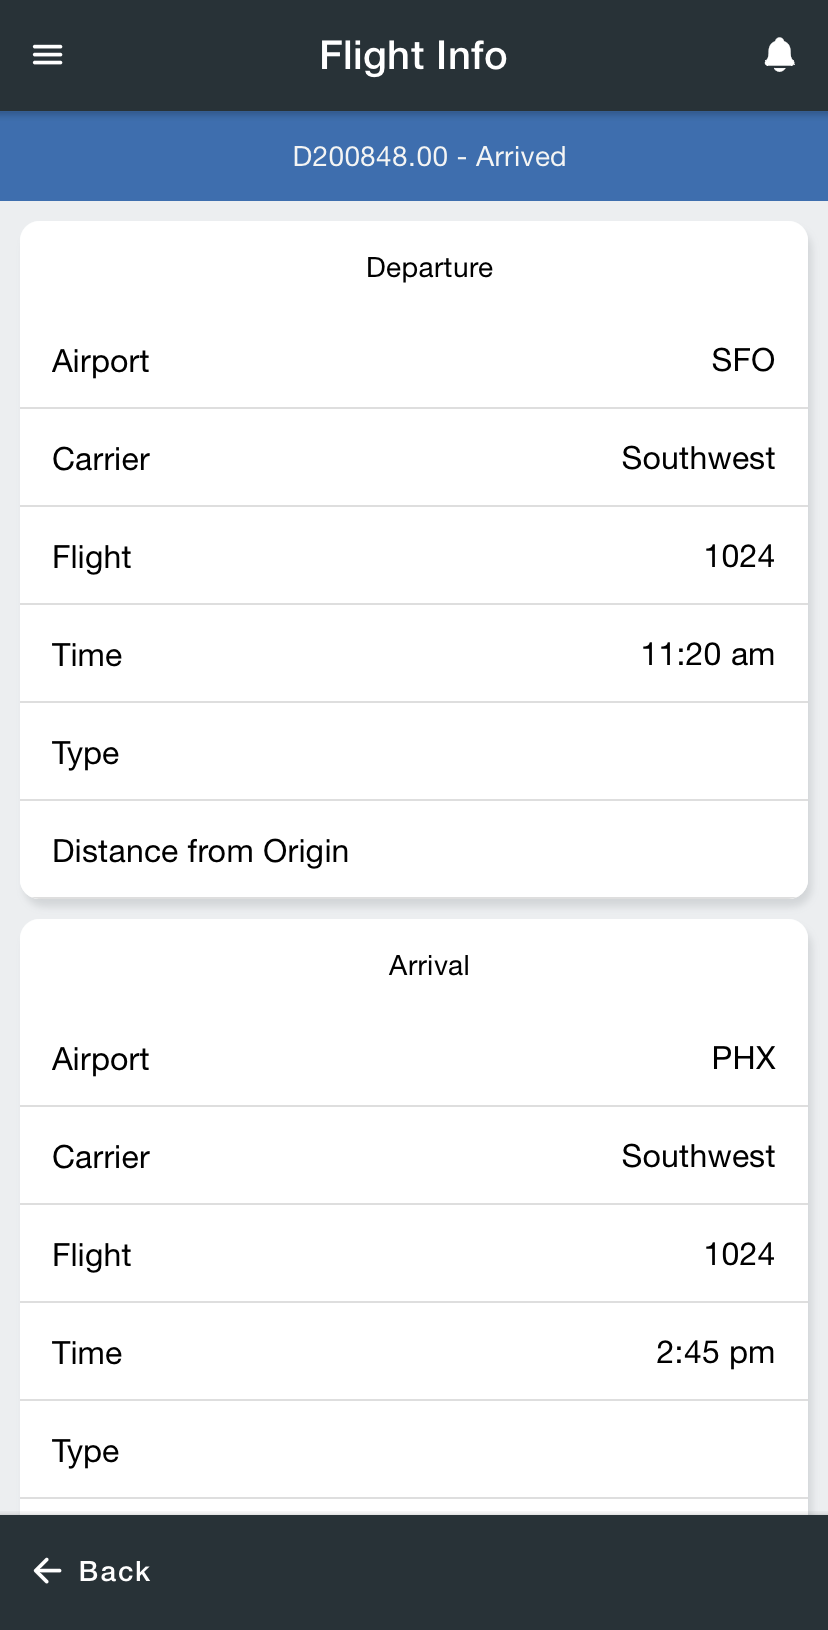
Flight Info |
Tap to see the flight info.
| |||||||
Pieces |
The number of pieces to be picked up or delivered at the stop. | |||||||
Weight |
The total weight of all the pieces to be picked up or delivered at the stop. | |||||||
Billing Group |
Billing group for the stop. | |||||||
Reference 1 | References for the stop. | |||||||
Reference 2 | ||||||||
BOL | BOL, or Bill Of Lading, for the stop. | |||||||
Accounts | Customer Account Name(s). | |||||||
Tracking ID | A letter D for on demand or R for routed and the stop ID. Non 0 numbers after the decimal mean that it is a continuation or return stop. | |||||||
Pickup Ready | The time that the stopwill be ready. | |||||||
Delivery Ready | ||||||||
Min Time | ||||||||
Preferred Time |
The preferred time of the stop | |||||||
Pickup By | After this time, the stop will be considered late. | |||||||
Deliver By | ||||||||
Max Time | ||||||||
Pay |
Driver pay amount for the order or route stop. For route stops, this does not take into account any route Minimum and Maximum amounts set. | |||||||
Comments | Stop pickup/delivery comments.
| |||||||
Status Codes | The number of status codes on the stop will be displayed in parenthesis. Tap on Status Codes to view the status code on the order. See Status Codes in Nextstop 3. | |||||||
Accessorial Items | The number of accessorial items on the stop will be displayed in parenthesis. Tap on Accessorial Items to view the accessorial items on the order. See Accessorials in Nextstop 3. | |||||||
Attachments | The number of attachments on the stop will be displayed in parenthesis. Tap on Attachments to view the attachments for the order. See Attachments in Nextstop 3. | |||||||
Parcels | The number of parcels on the stop will be displayed in parenthesis. Tap on Parcels to view the parcels associated with the order. See Parcels in Nextstop 3. |
Options Menu
Menu Option | Description | ||
|---|---|---|---|
Enable Bluetooth Scanning | Enable/Disable Bluetooth scanning. See Setting Up Bluetooth Scanning in Nextstop 3.
| ||
Flag as Next stop | For On Demand only. Mark the stop as the next stop. Where this is seen in X Dispatch
| ||
Received At Dock | For On Demand only. Mark the stop as “Received At Dock”. See Received at Dock in Nextstop 3.
Where this is seen in X Dispatch
| ||
Reject Stop | For On Demand only. Reject the stop.
Where this is seen in X Dispatch
| ||
Deactivate Stop | For Route Stops only. Deactivate the route stop.
| ||
Add Stops to Consolidation | Add stop to a consolidation.
| ||
Location Scan | Location scan for the stop. This will automatically mark the stop as “Arrived” if it is not already. Where this is seen in X Dispatch
|
| Page Properties | ||
|---|---|---|
| ||
|