| Table of Contents |
|---|
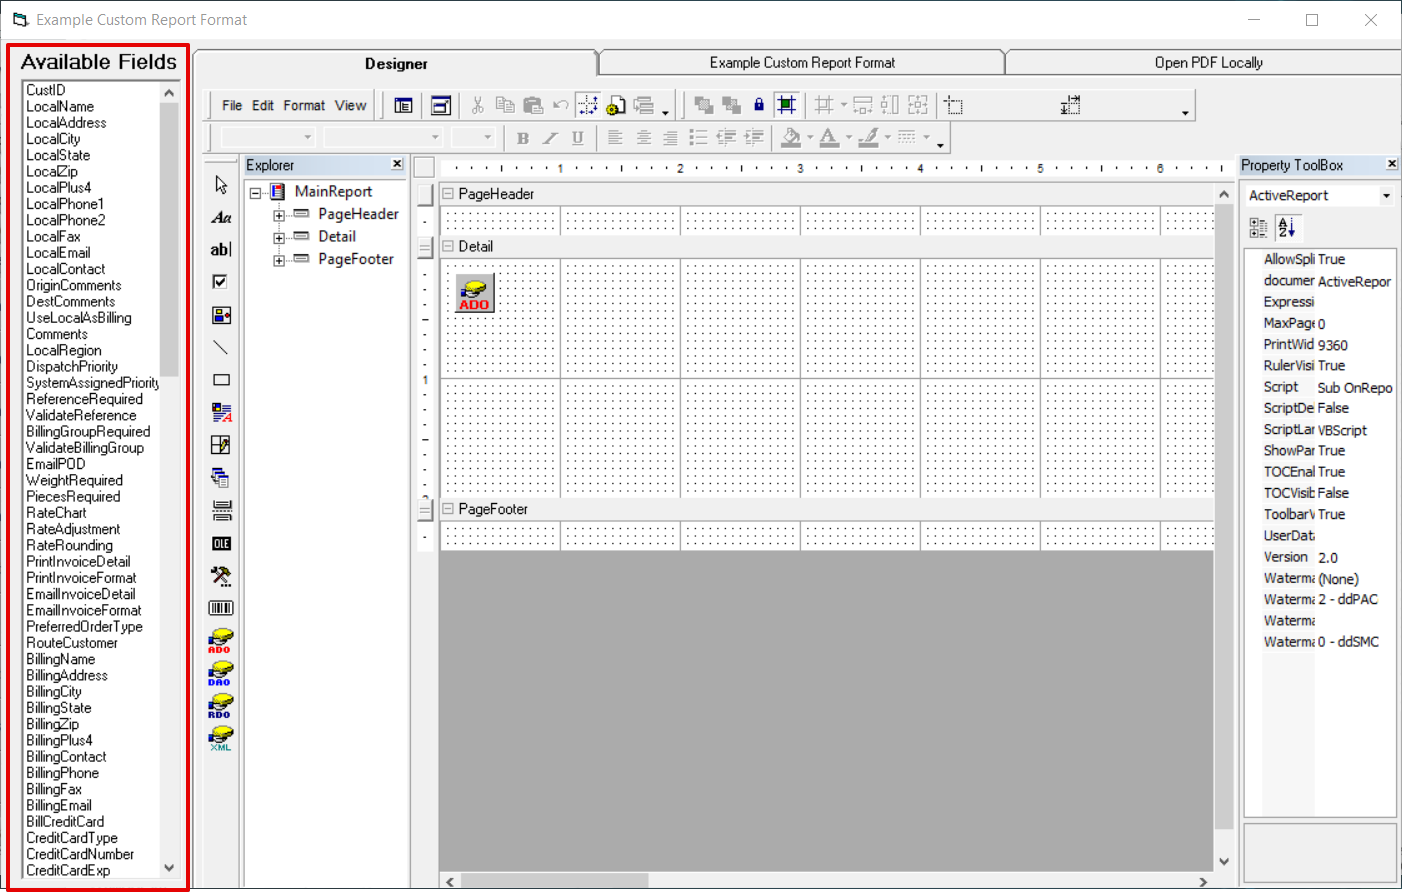
The custom report format Report Designer uses ActiveReports to create the layout format. 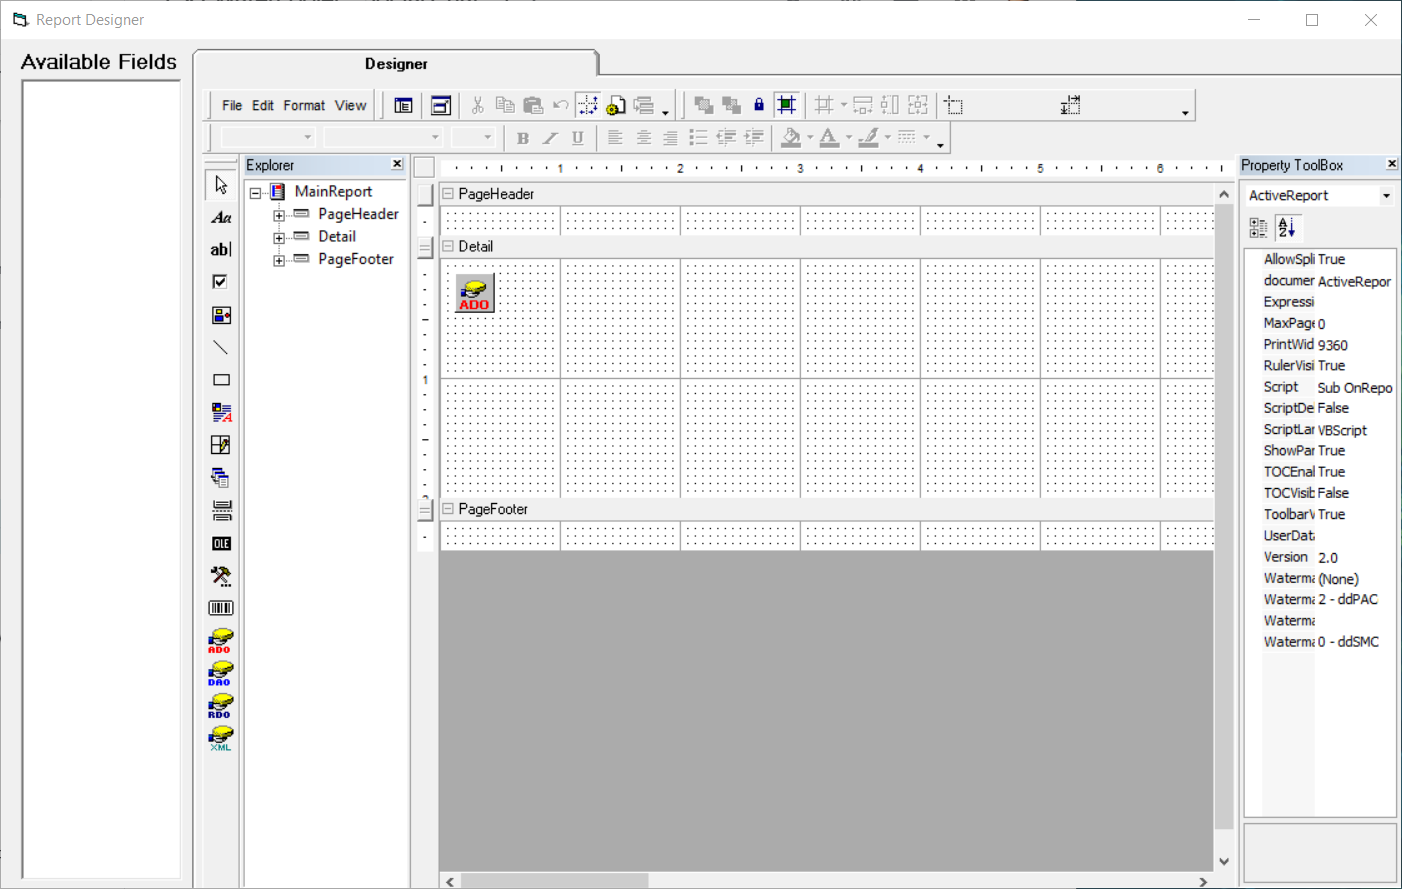
...
To view the report designer, open a custom report format and click click Edit Layout Format.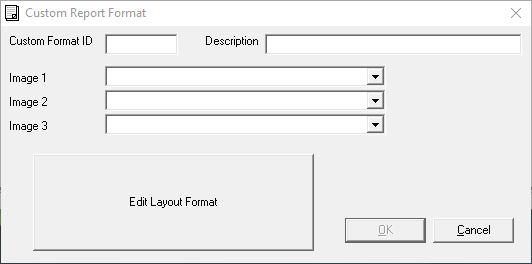
...
| Warning |
|---|
If modifying an existing report, CXT Software recommends creating a copy of the report and make changes to the copy. There is no way to revert changes and no historical log. |
How to Add Database Content
Go to the Find window and select or create the query you would like the report to work with. This will give you access to all the available data fields populated by the query and you will be able to display the results in your report.
Choose the Report Format from the drop-down menu.

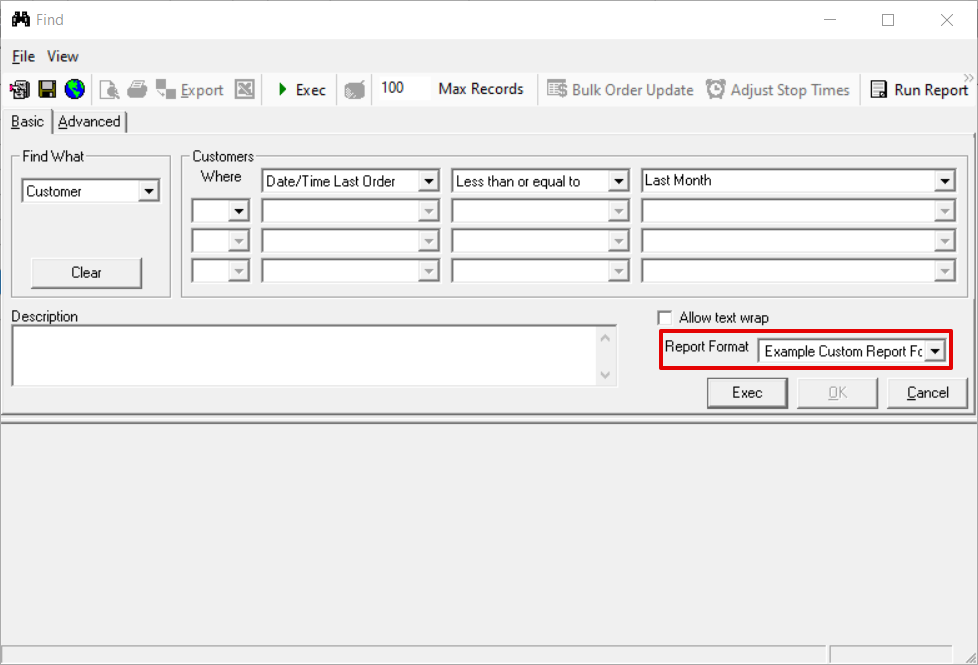
Click Exec.
Click on Designer tab at the top left of the window.
Available Fields will populate on the left.

How to Design the Report
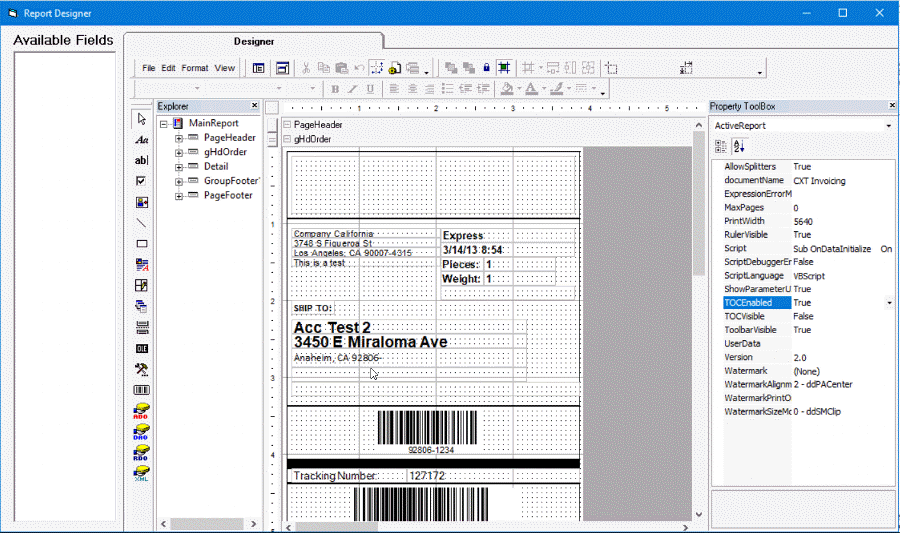
The Designer tab is where you control the layout and design of the report. There are three main sections of the report: PageHeader, Detail, and PageFooter.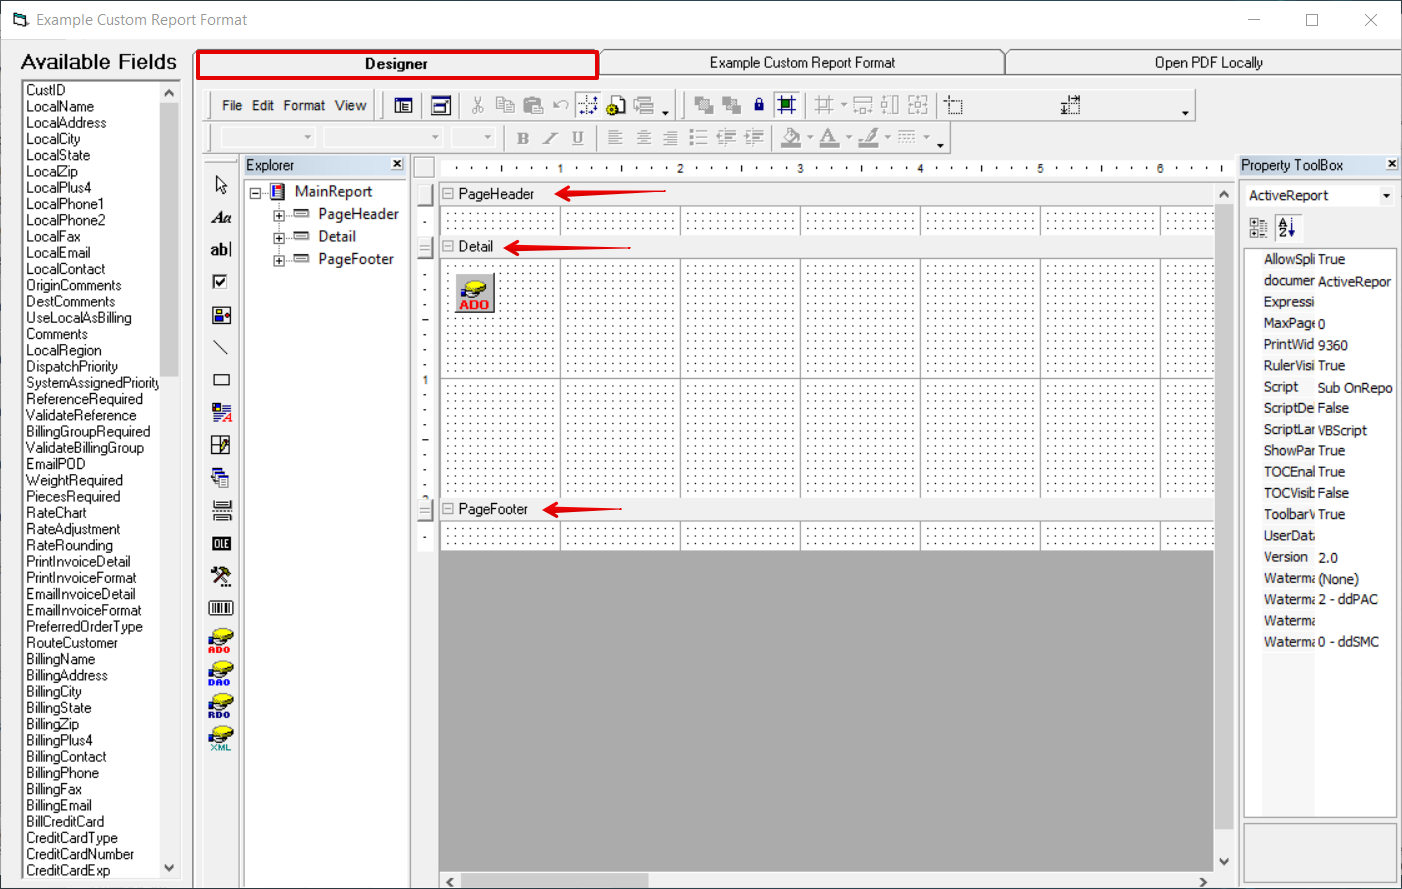
...
You can re-size headers and footers by dragging the section divider up or down.
Add an Object
From the Toolbox, select a control. It will appear depressed when selected.
Draw a box in the area you want to place the object by clicking in the section with gridlines and dragging your mouse.
Use the Property ToolBox to style the object. To add a dynamic field type the Available Field name in the DataField.
Report Designer
Available Fields
All the fields that are available to be linked to controls on the report format are listed in the Available Fields section.
...
Toolbar
Icon | Name | Description |
|---|---|---|
 | File | Contains all the file menu choices. "Open, Save, and Page Setup". |
 | Edit | Contains all the edit menu choices. "Cut, Copy, Paste, and Delete". |
 | View | Contains all the viewable sections of the report designer. Can turn on or off different panes in the report designer. |
 | Report Explorer | Toggles the report explorer window. Located on the left of the layout pane. |
 | View Full Screen | Toggles full screen mode. |
 | Cut, Copy, Paste | Toolbar shortcuts |
for "Cut, Copy, Paste". | ||
 | Undo | Undo your last action. |
 | View Grid | Toggles the report grid. |
 | View Script | Opens the script editor. This can be used to edit any custom scripts or behind the report code in VB. |
 | Reorder Groups | If your report format contains multiple groups, this option allows you to reorder the groups in your preferred sequence. |
 | Bring Front/Back | Brings the selected object either forward or backward. |
 | Lock Control | Locks a form control so it can't be moved or edited. |
 | Snap to Grid | When enabled, controls will snap to the grid rather than floating freely unaligned with the grid. |
 | Various Alignments | Various alignment tools used for aligning controls on the report. |
Toolbox
Icon | Name | Description |
|---|---|---|
 | Pointer | Selected by default, the pointer allows you to select, move, and resize controls, and resize sections. After you drop or draw a control onto your report, the pointer is automatically selected. |
 | Label | A static text box used as a label. Change the text field in the Property ToolBox to display the text you would like. |
 | TextBox | A textbox that can be used for dynamic or static data. |
In the Property ToolBox, type the Available Field name in the DataField for the dynamic data and enter static data |
in the text field in case the dynamic data is null/empty. | ||
 | CheckBox | A checkbox with or without a label. This field does not pull dynamic data. |
 | Image | Add an image. In the Property ToolBox, click “…” by Picture to open available files. Set the Size mode to "Clip" (show part of the image that fits to the drawn frame), "Stretch" (fit the image into the drawn frame, might be distorted/stretched), or "Zoom" (resize the picture with the correct aspect ratio to fit the drawn frame as closely as possible). Custom reports support a maximum |
of "3" |
images which are defined in the custom report format form. | ||
 | Line | Draw a line. |
 | Shape | Draw a shape. In the Property ToolBox, select the Shape "Rectangle", "Ellipse", or "Rounded Rectangle". Change BackColor and BackStyle to fill / color the shape. |
 | RichText | You can use different formats on adjacent text in the rich text box control, merge data in it, or load an HTML or RTF file into it. Or double-click inside the control to enter text directly into it. For more information on the RichText control, see ActiveReports documentation here. |
 | Frame | Creates a frame control. This control is rarely used. |
 | Subreport Control | Use the subreport control as a placeholder for data from a separate report. Use code to connect the separate report to the subreport control. |
 | Page Break | Add a page break. |
 | OLE Object | Add an OLE object which can embed various document types in the layout. |
 | ActiveX Control | Creates an ActiveX Control which can embed various ActiveX controls in the layout. |
 | Barcode Control | Add a barcode and bind it to data using |
the DataField in |
the Property Toolbox. This can create scannable barcodes on reports. For more information on barcodes, see ActiveReports documentation here. | ||
 | ADO Control | Add ADO data source controls. |
 | DAO Control | Add DAO data source controls. |
 | RDO Control | Add RDO data source controls. |
 | XML Control | Add XML data source controls. |
Explorer
The explorer shows all the sections of the report. The various sections control the header, footer, and the details of the report.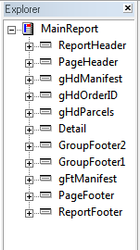
...
Property ToolBox
Property ToolBox gives you control over added objects in the Toolbox such as fields, labels, text, lines, shapes, images, etc. Color, background, font, height, width are common among many of the objects. You can adjust the object's position with the left and top properties. Increasing or decreasing these numbers will shift the object horizontally and vertically on the canvas. This number is automatically adjusted if an object is moved on the canvas. 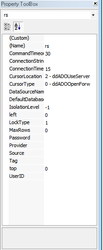
...
Connecting Database Fields in the Property ToolBox
| Note |
|---|
Available Fields must be populated. See How to Add Database Content above. |
Add a TextBox from the Toolbox.
In the Property ToolBox, type in the Available Field you want to display in the DataField.
Example
To display a destination name to a shipping label, you would type in "DestName" in the DataField of the Property Toolbox.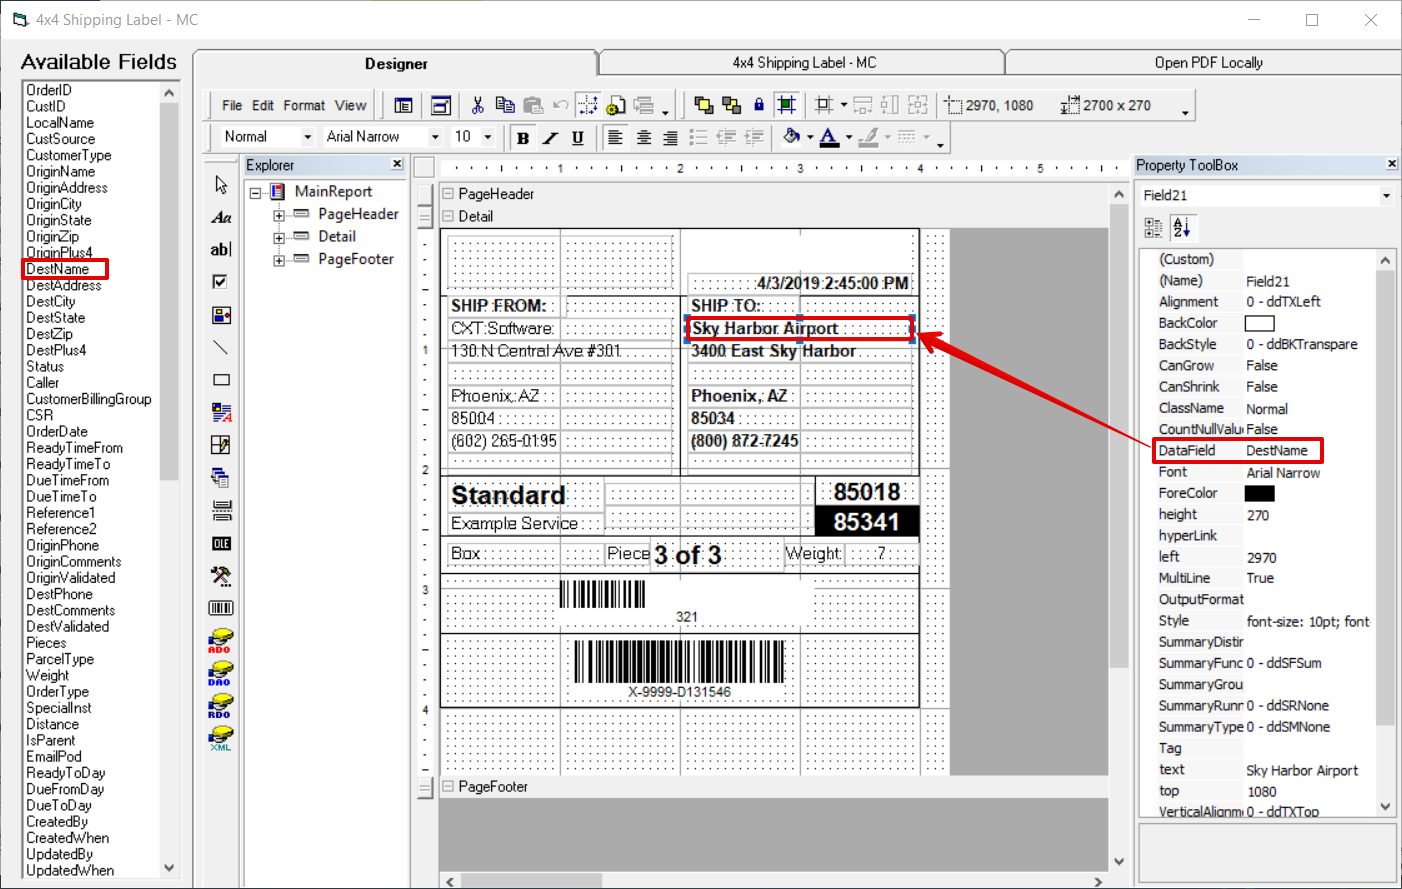
...
Example
If you want to change the font of the text on the shipping label, click the text then click on the ... next to the font to change the font style and size.
...