Overview
- Imported A/R records are updated according to the specific schedule set in the Credit Calculations X Stream Definition. For assistance updating that interval please contact Customer Support.
- Credit Limits are not currently supported by Rapidship Client, look for this in a future release.
Credit Limit Permissions
- Navigate to Maintenance > Permissions and open the Permission record for the User ID you would like to configure.
- Expand X Dispatch Functions > Customers then select if you would like to allow the user to View Credit Limits, Edit Credit Limits, and/or Import Credit Limit Data.
- Press OK to save and close the Permission record.

Enable Credit Limit
- Navigate to Maintenance > Customers and navigate to the Invoices tab.
- Check the Enable Credit Limit box.
- Fill in the Credit Limit amount you want to set for this specific Customer.
- Save and close the Customer record.

Overview of each field in the Credit Limit window.

Configuring Credit Limit Enforcement
- Open the Global Options form from the top menu bar.

- From the Accounting tab users can configure X Dispatch notifications and enforcement of the Credit Limits feature by selecting to Ignore, Warn, or Enforce.
- Users can configure to Ignore or Enforce functionality for X Internet.

- If set to Ignore, all orders can be placed in X Dispatch and X Internet regardless of the Credit Limit that is set on the Customer record.
- If set to Warn in X Dispatch, the following warning are displayed upon entering the Customer ID when placing any On-Demand order or editing any posted Route Stop.
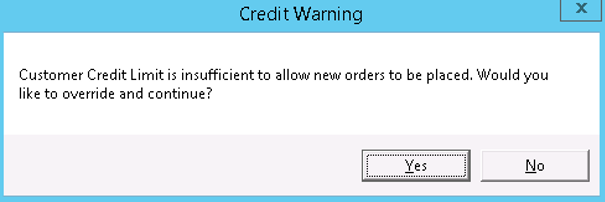
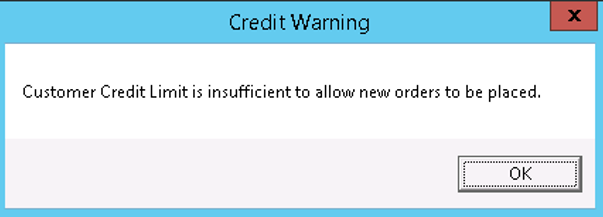
- If set to Enforce in X Dispatch, the following warning are displayed upon selecting the Customer ID.
- If set to Enforce in X Internet, the following warning will appear at the top of the order entry page after selecting the Customer ID.

Important Note: The Warn and Enforce message for all orders placed inside of X Dispatch is set by CXT Software.
The Credit Exceeded Message for use in X Internet is set by the user. To set the Credit Exceeded Message follow the steps below:
- Navigate to the X Internet tab inside of the Global Options form.
- Enter your company's message in the Credit Exceeded Message field.

QuickBooks Import
Exporting from QuickBooks
The configuration of the export done in QuickBooks is critical to a successful import into X Dispatch. Once a payment has been applied in QuickBooks to the Customer(s) you are updating in X Dispatch take the following steps to export the file:
- In QuickBooks navigate to Report > Customers & Receivables > AR Aging Detail.
- Open Customize report and select on the Filters tab.
- From Filters select Account.
- From the Filter choices select Paid Status.
- From Paid Status click the Either radio button.
- Select OK which will close the window.
- From the menu select Memorize then enter in a name to save the filter with and click OK.
- The A/R Aging Detail form is still open, click the Excel drop-down button.
- Select Create New Worksheet.
- Export the comma separated .CSV file with a File Name of your choosing.
Use this memorized report with the set Filters to export each time for use in X Dispatch.
Important Note: These steps are taken from QuickBooks Pro 2015 and may be different with each version.
Importing to X Dispatch
To import a .CSV from a QuickBooks export:
- Open X Dispatch, click the Action menu drop-down and select Import A/R Data.
- Navigate to the location of the file to be imported and select Open.

- Once you select Open you will then see an Import Complete popup. Click OK to close the window.

The newly imported A/R data will then be queued to be updated according to the specific interval set in the Credit Calculations X Stream Definition.
Once the X Stream Definition is run, the Outstanding Invoiced aging data is updated inside the Customer record.
Update A/R QuickBooks data as often as possible to keep the X Dispatch Customer records up to date.
For assistance updating the X Dispatch queue interval, please contact Customer Support.
Troubleshooting
