For X Dispatch 19.0 or newer. See here for older versions.
GL accounts, also referred to as income accounts, are used when exporting/importing into your accounting package.
GL accounts must match exactly what is in the accounting package.
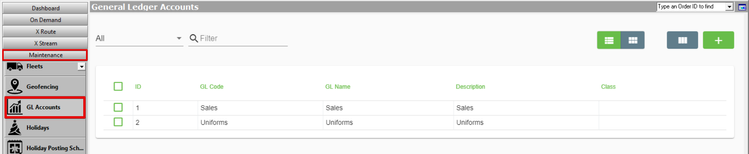
To manage the GL Accounts, go to Maintenance > GL Accounts.
| Field Name | Description |
|---|---|
| ID | Unique ID number. |
| GL Code | The GL Code that matches the Income Account(s) found in your accounting package.
|
| GL Name | A name for the GL Account. |
| Description | A description that describes the GL Account. |
| Class | Optional. The class that matches the Income Account(s) found in your accounting package. |
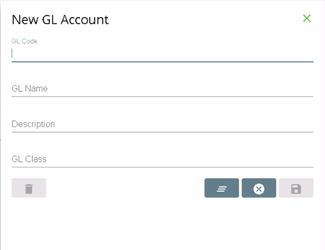
How to Add a GL Account
- Go to Maintenance > GL Accounts.
- Click the
 button.
Alternate Steps
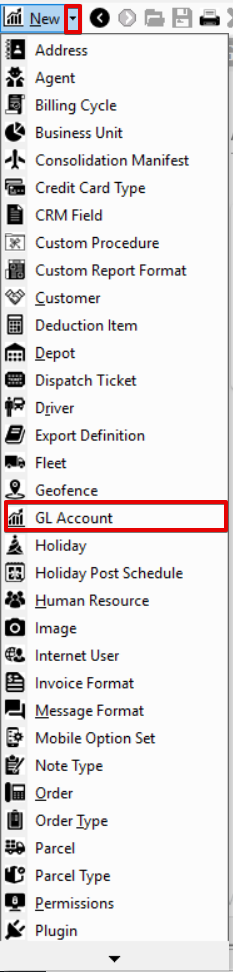
- Click the arrow next to the New button, or press Alt + N keys.
- Select GL Account.
How to Edit a GL Account
The GL Code cannot be edited.
- Go to Maintenance > GL Accounts.
Click the GL account you would like to editor right-click the row and select Edit.
The right-click menu option Open in New Window will open the edit form in a window that can be moved around.
How to Delete a GL Account
GL accounts that are currently being used within items, order types, or contracts cannot be deleted.
- Go to Maintenance > GL Accounts.
Click the GL account you would like to delete.
Click the
 button to delete the GL account.
Section Functions
You can customize which columns you would like to view and arrange the order by clicking the Edit Grid Layout icon Requires X Dispatch 19.1 or newer. You can switch between a table view and a card view by clicking on the Card View icon Requires X Dispatch 21.0 or newer. You can zoom in or out of Next Dispatch pages in X Dispatch by right clicking on the page (other than on a card or table) and selecting Zoom In or Zoom Out, or use the Ctrl + or Ctrl - keys. Use the checkbox at the beginning of each row, or at the top of each card, to select multiple records. Quick Tip No more than 2 windows can be open or edited at a time. Right click on a row or card to view right click menu options.Customize Grid Layout
![]() .
. Change View
![]() or Table View icon
or Table View icon ![]() .
.Zooming Settings
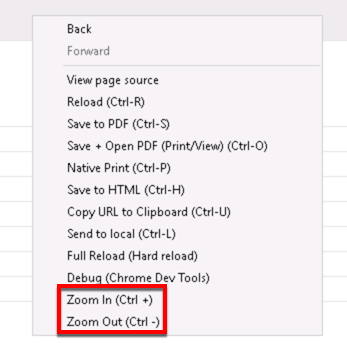
Select
Right Click Menu