...
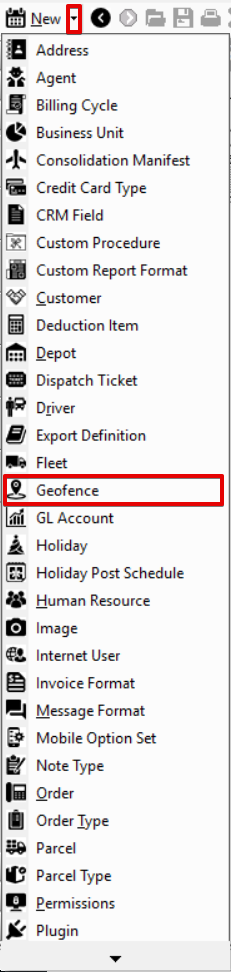
Geofencing in X Dispatch allows users to set a geofence radius in miles for drivers, customers, order types, business units, or globally, that can raise an alert to the driver and attach status codes to the order or stop to indicate the status update occurred outside of the geofence. See Nextstop Mobile 2 Geofencing or Nextstop 3 Geofencing for more information on how geofencing works in Nextstop.
...
| Field | Description | ||
|---|---|---|---|
| ID | Geofencing ID that is auto-assigned. | ||
| Type |
| ||
| Type ID | ID number for the corresponding "Type". Not available if the "Type" is set to "Global". | ||
| Type Name | Name associated with type and ID. | ||
| Geofence Radius (miles) | Distance in miles allowed before geofencing alerts and status codes are enabled. Fractions of miles are accepted values (0.5, 0.25, etc.). | ||
| Cached GPS Grace Time (Minutes) | Grace time in minutes that GPS data will be cached. The default value is 0. Max time allowed is 60 minutes. See How to Set Up a GPS Grace Time for Nextstop Mobile 2 or How to Set Up a GPS Grace Time for Nextstop 3.
| ||
| Priority | Priority level when there are overlapping criteria. If 2 priority values are the same, the lowest "Geofence Radius (miles)" value will be used. Example: Different Priority
A driver is picking up an order for a customer, and two different Geofencing configurations apply. The applicable settings differ in "Geofence Radius (miles)" and "Priority". Since the driver has "Priority" set to 1 and the customer a "Priority" of 2, the "Geofence Radius (miles)" set for the driver will be used. Example: Same Priority
A driver is picking up an order for a customer and multiple different Geofencing settings apply, with differing "Geofence Radius (miles)" and the same "Priority" level. Since the driver "Geofence Radius (miles)" is set to "1" and the customer has it set to "5", the "Geofence Radius (miles)" set for the driver will be used. |


How to Add a New Geofencing Rule
...
| Excerpt |
|---|
Alternate Steps
|
How to Edit a Geofencing Rule
- Go to Maintenance > Geofencing.
Click the geofencing rule you would like to edit or right-click the row and select Edit.
Info The right-click menu option Open in New Window will open the edit form in a window that can be moved around.
How to Delete a Geofencing Rule
- Go to Maintenance > Geofencing.
Click the geofencing rule you would like to delete.
Click the
 button.
Section Functions
Insert excerpt Next Dispatch Section Features Next Dispatch Section Features nopanel true
"Outside Geofence" Status Code
...