| Note |
|---|
This app is deprecated. Please see Client Portal (Rapidship) for the current app version. |
This document will provide a step-by-step guide to installing Rapidship Client with support for barcode scan based order entry.
| Table of Contents | ||||
|---|---|---|---|---|
|
Requirements
To begin installation, you should have:
| Info |
|---|
Requirements
|
| Table of Contents | ||||
|---|---|---|---|---|
|
Install Rapidship Client
...
Download the installer and install the client:
...
If you do not have the installer please contact CXT Software Technical Support.
Double click the installer.
Click the Install button.
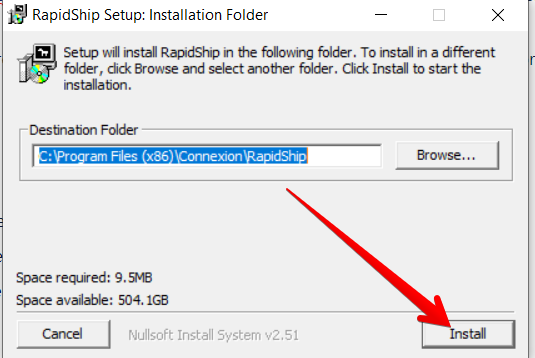
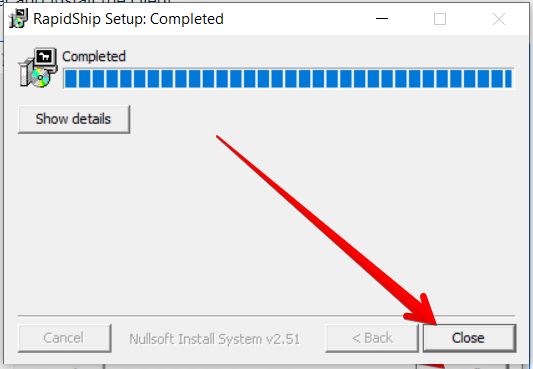
Click Close when installation is completed.
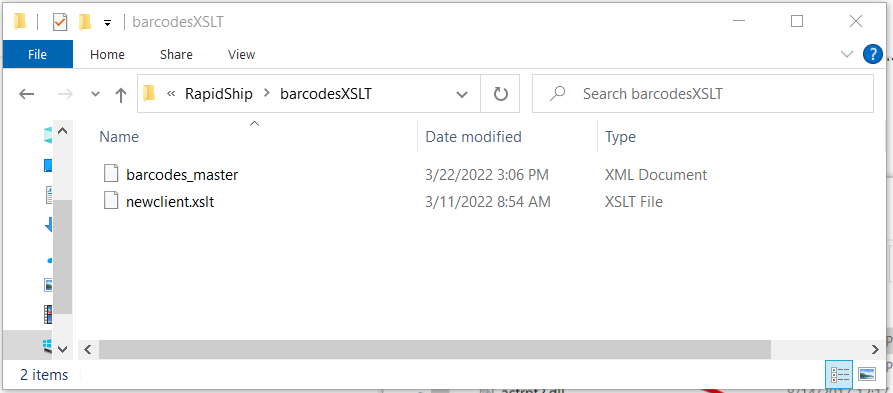
Create the barcodesXSLT
...
Directory
Navigate to the path where
...
Rapidship Client was installed. By default, this will be C:\Program Files (x86)\Connexion\RapidShip.
Add a folder in the
...
directory called
...
“barcodesXSLT”.

...
Open the barcodesXSLT directory, copy the barcodes_master.xml file and XSLT file that you have received from CXT Software.
Launch Rapidship and
...
Test a
...
Barcode.
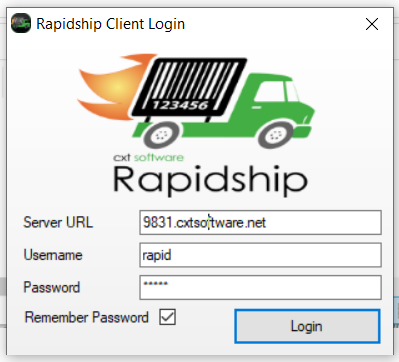
Open Rapidship Client and log in with the Server URL for the
...
Operations App instance, in the format 0000.cxtsoftware.net (replacing 0000 with
...
your 4-digit
...
customer ID) and the appropriate
...
internet user’s Username and Password.
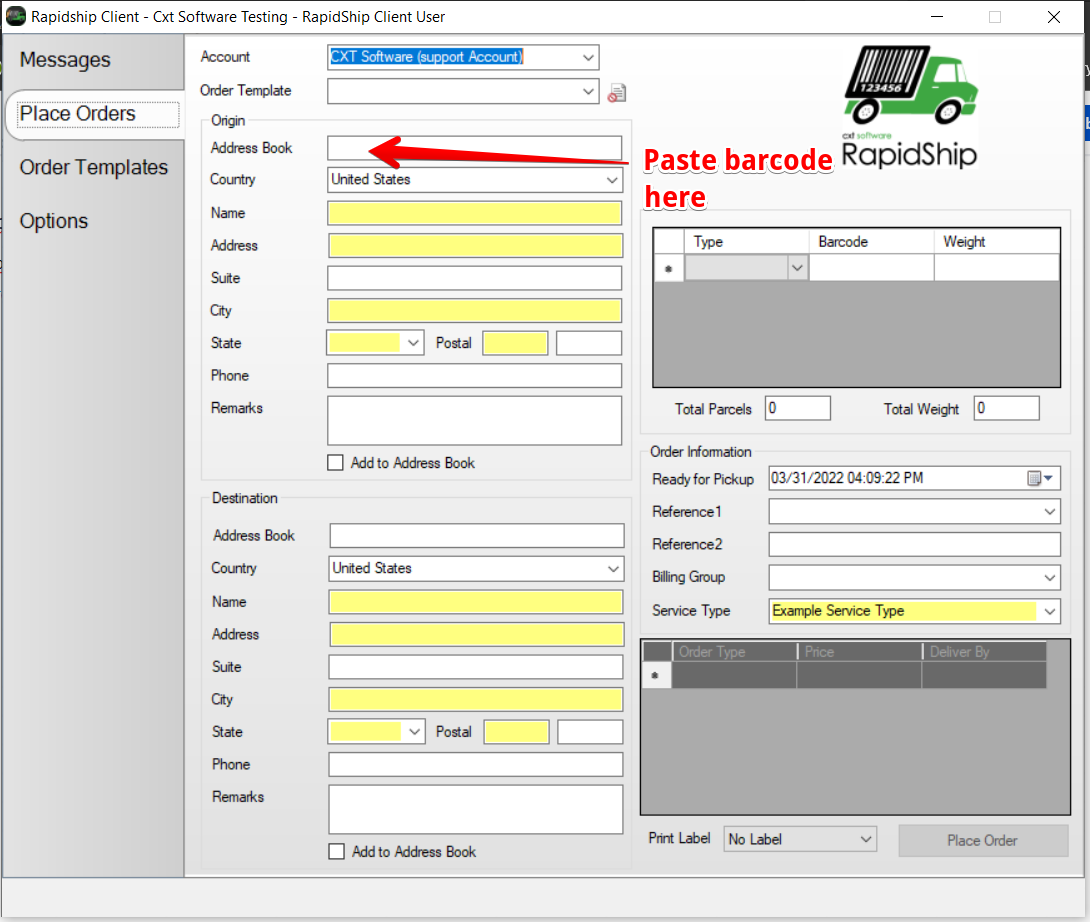
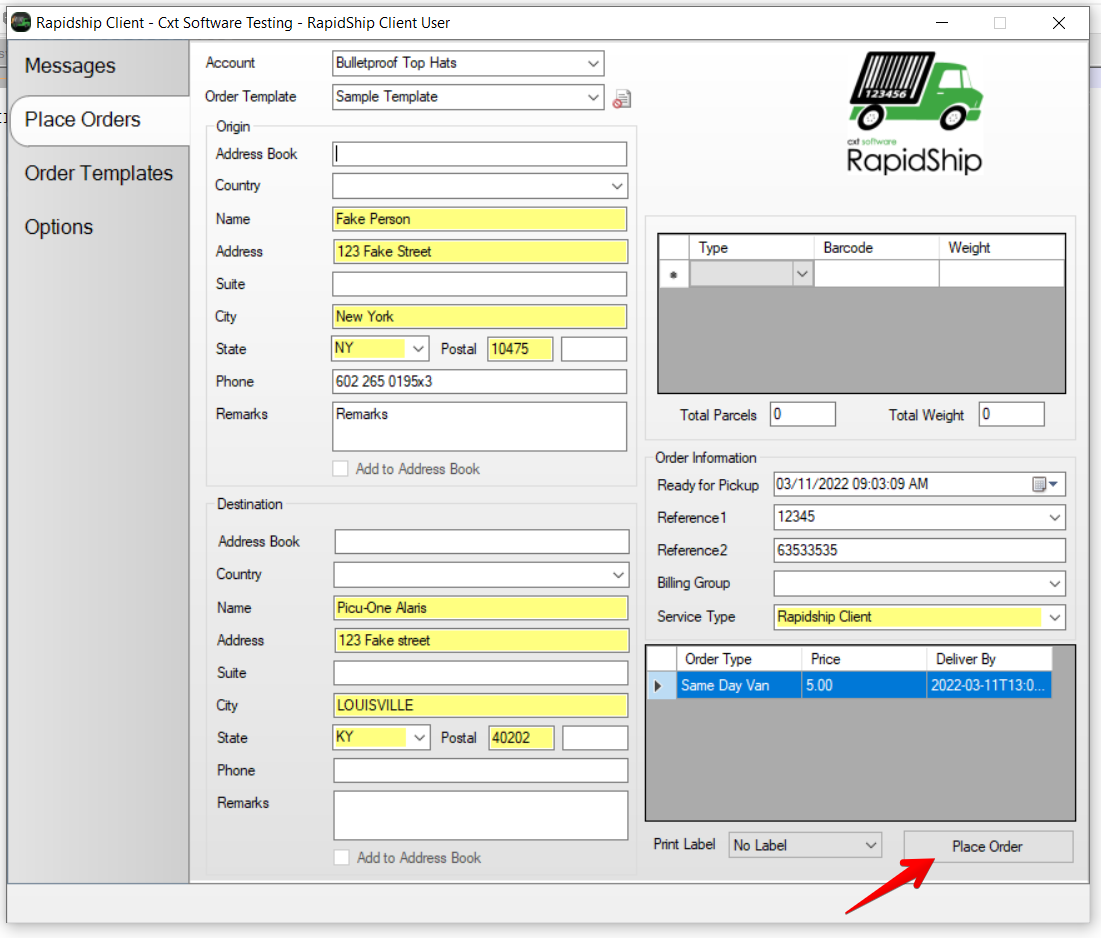
Choose the correct
...
customer Account from the dropdown, and then paste your sample barcode directly into the
...
Address Book field
...
.
...
The barcode will be automatically decoded and
...
the appropriate fields
...
filled.
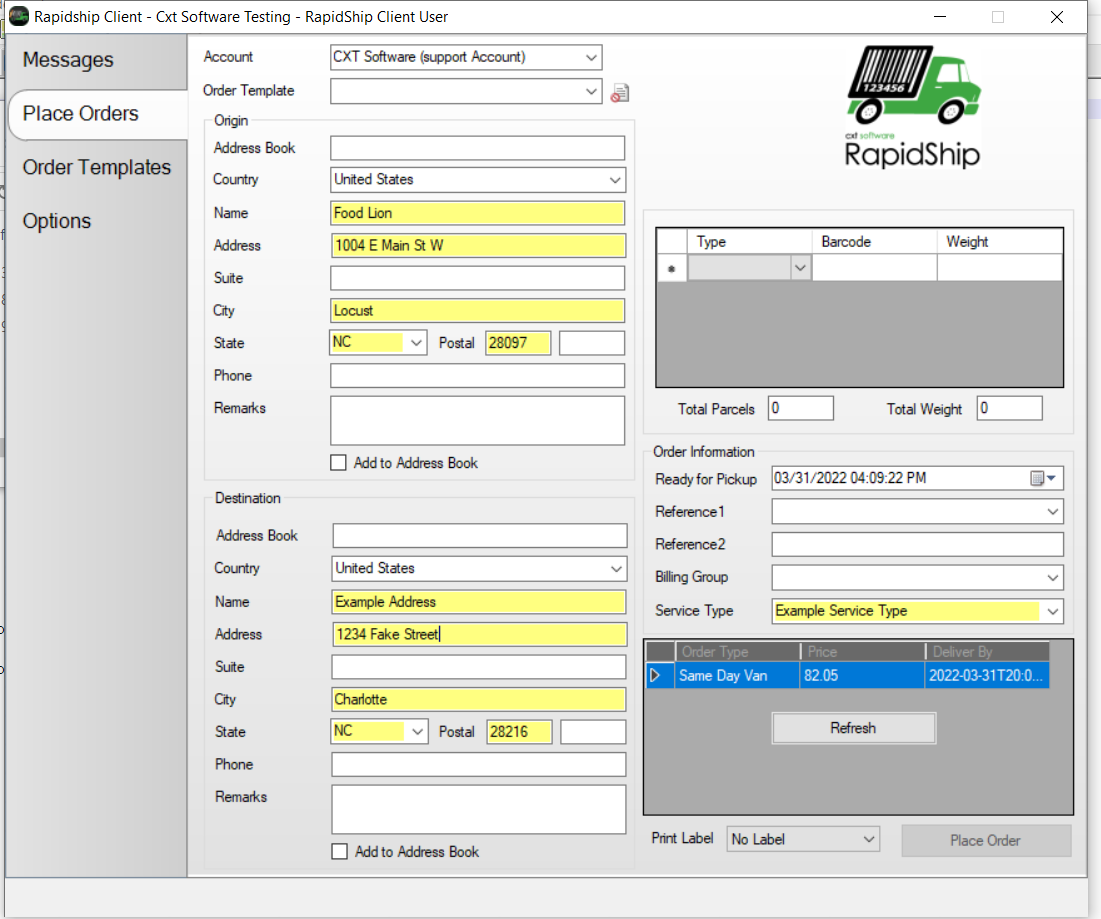
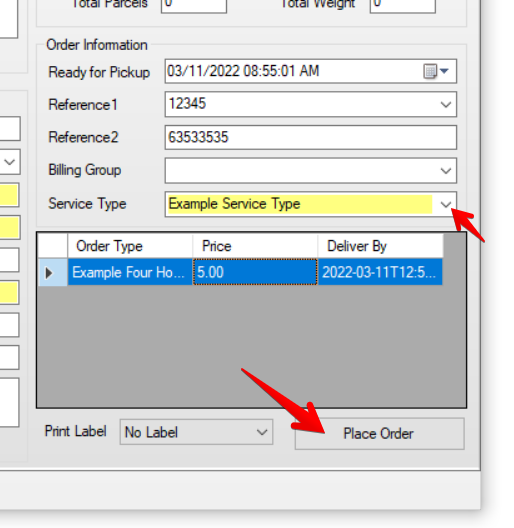
Choose a Service Type
...
,
...
an available Order Type
...
(you may need to click the “Refresh” button in that field before the list appears),
...
then click Place Order when ready to place the order
...
.
...
...
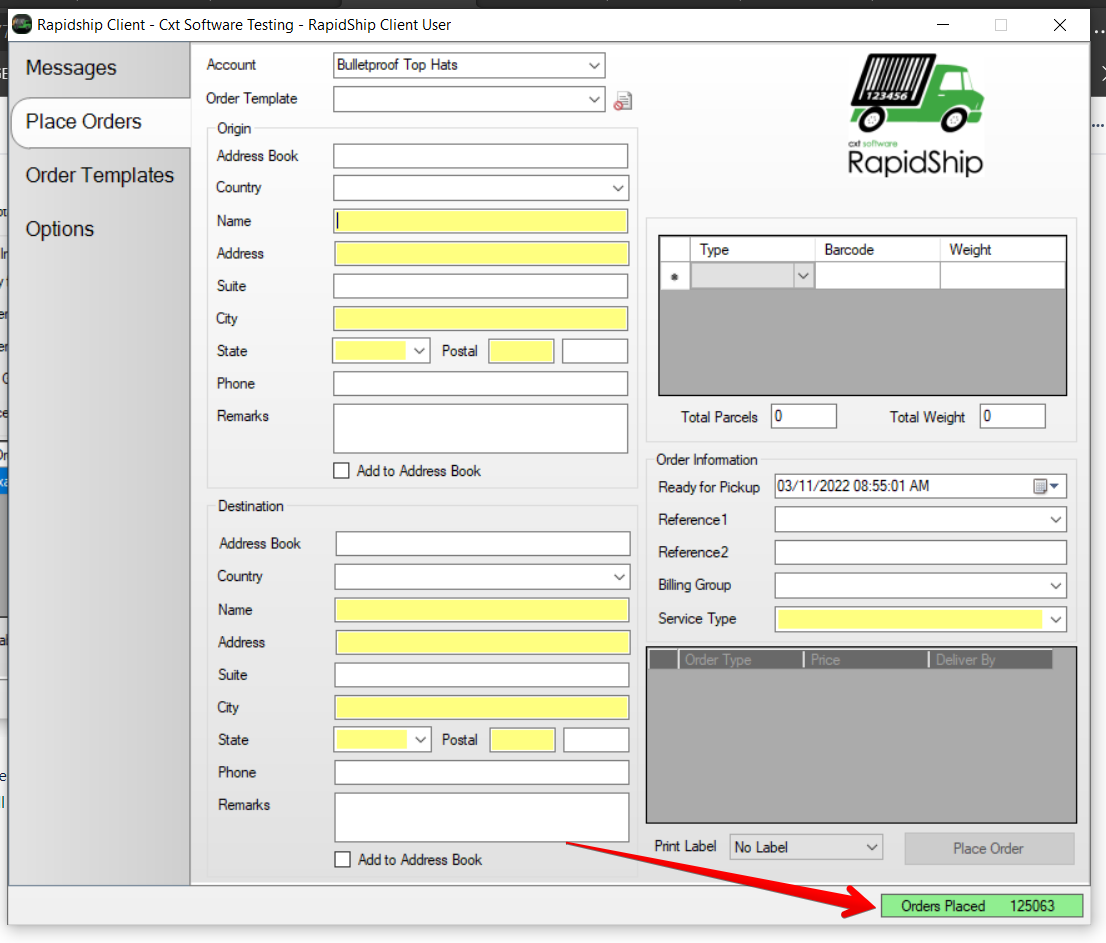
The words “Processing Order” will appear on the bottom bar of the application, and
...
when the order is successfully imported,
...
the new
...
order number in the bottom right-hand corner
...
.
...
Repeat steps 2 through 5 for any other barcodes you need to scan.
Entering Orders with a
...
Scanner
Open Rapidship Client and log in with the Server URL for the Operations App instance, in the format 0000.cxtsoftware.net (replacing 0000 with your 4-digit customer ID) and the appropriate internet user’s Username and Password.
Choose the correct customer Account from the dropdown, and then click on the Address Book field.
Scan the barcode with the scanner device that is connected to the PC. The scanner will translate the barcode into text and paste its contents into the field, where its contents will automatically be distributed into the correct order fields.
Choose a Service Type, an available Order Type (you may need to click the “Refresh” button in that field before the list appears), then click Place Order when ready to place the order.
The words “Processing Order” will appear on the bottom bar of the application, and when the order is successfully imported, the new order number in the bottom right-hand corner.
Repeat steps 2 through 5 for any other barcodes you need to scan.
Configuring a Service Type and Order Template for One-Click Scanning
...
The need to select a Service Type and Order Type service type and order type after scanning and before placing an order can be removed by setting up a Service Type service type with only one Order Type order type in it, and creating an Order Template order template that assigns that Service Typeservice type.
...
In the Operations App, create a ‘Rapidship Client’ service type. See Service Type
...
...
Go to
...
the order type that you want scanned orders to use and check the ‘Rapidship Client’ service type in the Service Types Filter tab. See Order Types or Order Types (Classic Operations App).
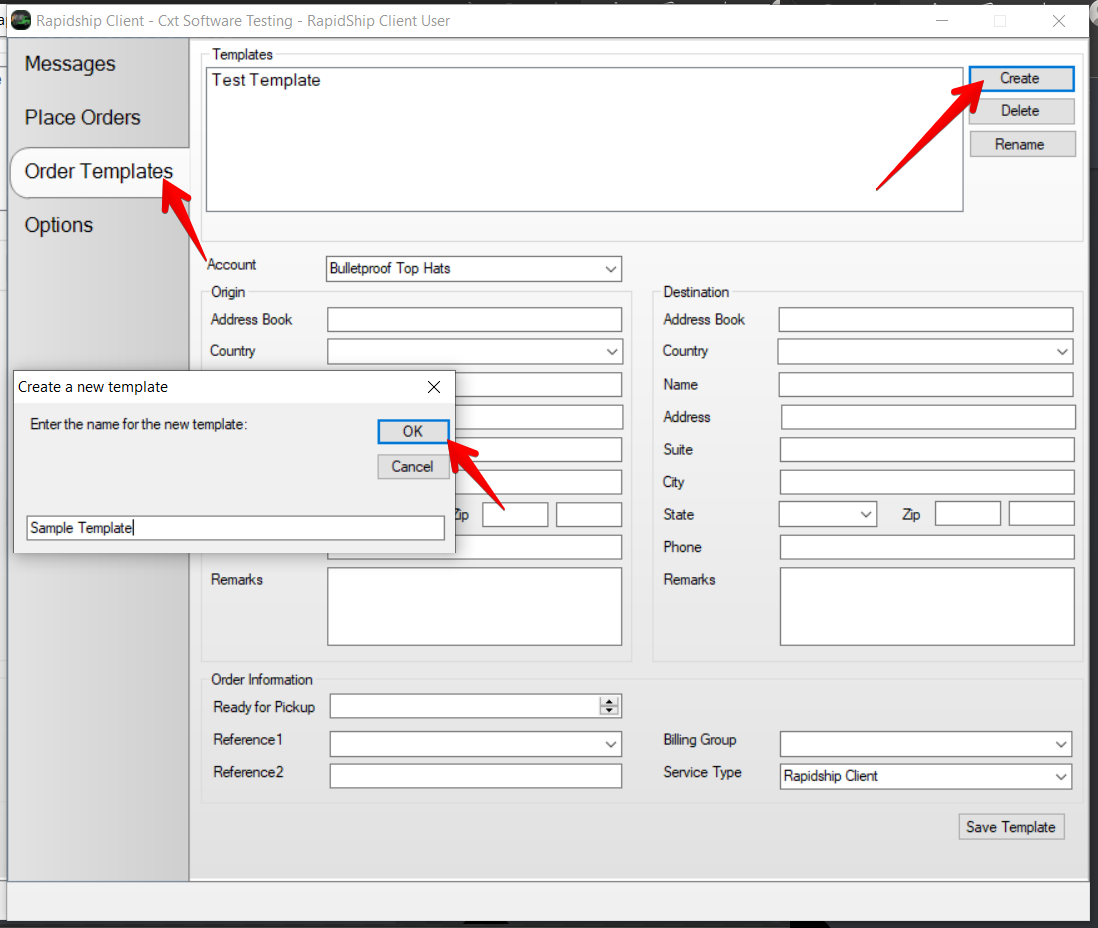
In Rapidship Client,
...
go to
...
Order Templates, click
...
the Create button, and give the new
...
template a name
...
.
...
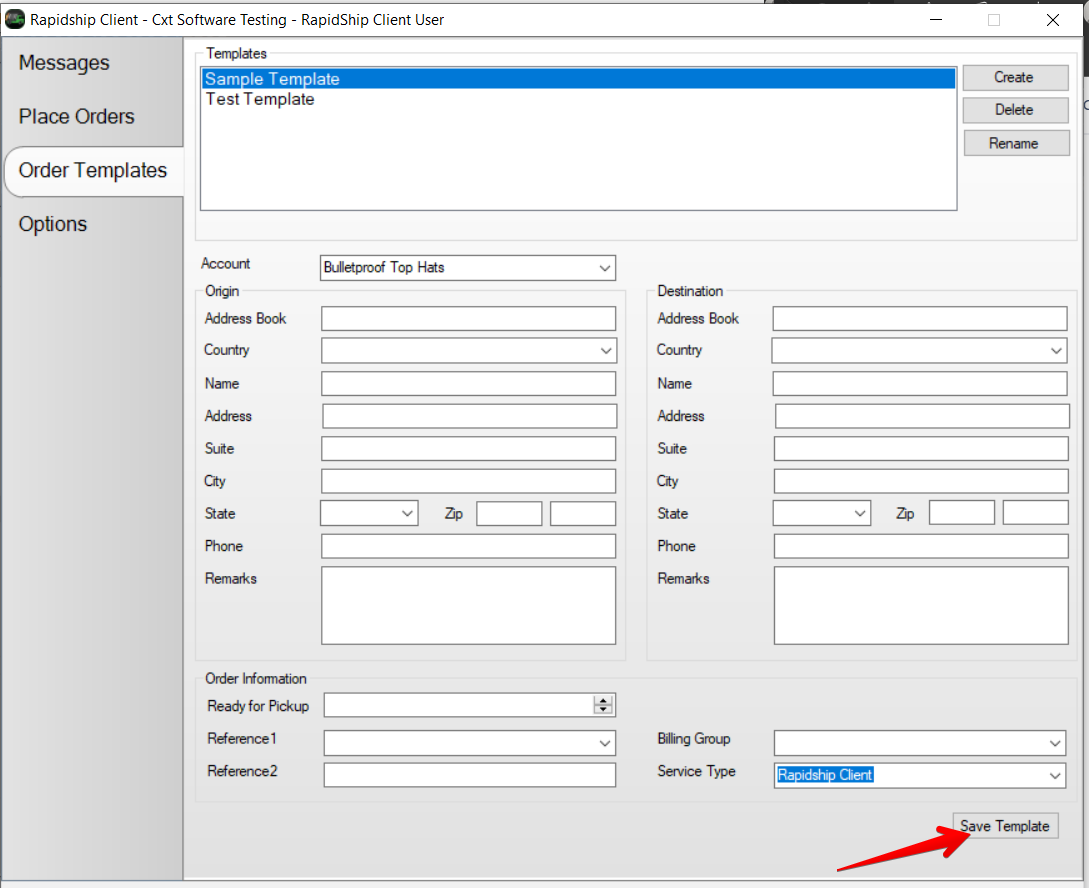
Select the Account and the Service Type that this
...
template will use,
...
then click Save the Template
...
.
...
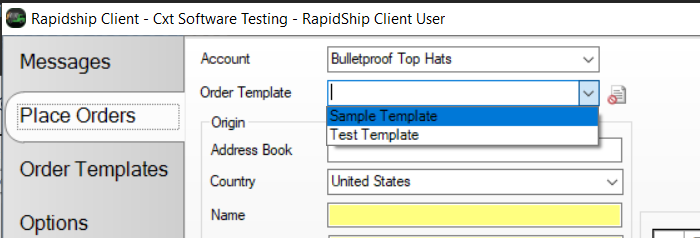
To scan with this template, go
...
to the
...
Place Orders form and choose the new template from the dropdown. The Account and Service Type will be automatically set
...
.
...
...
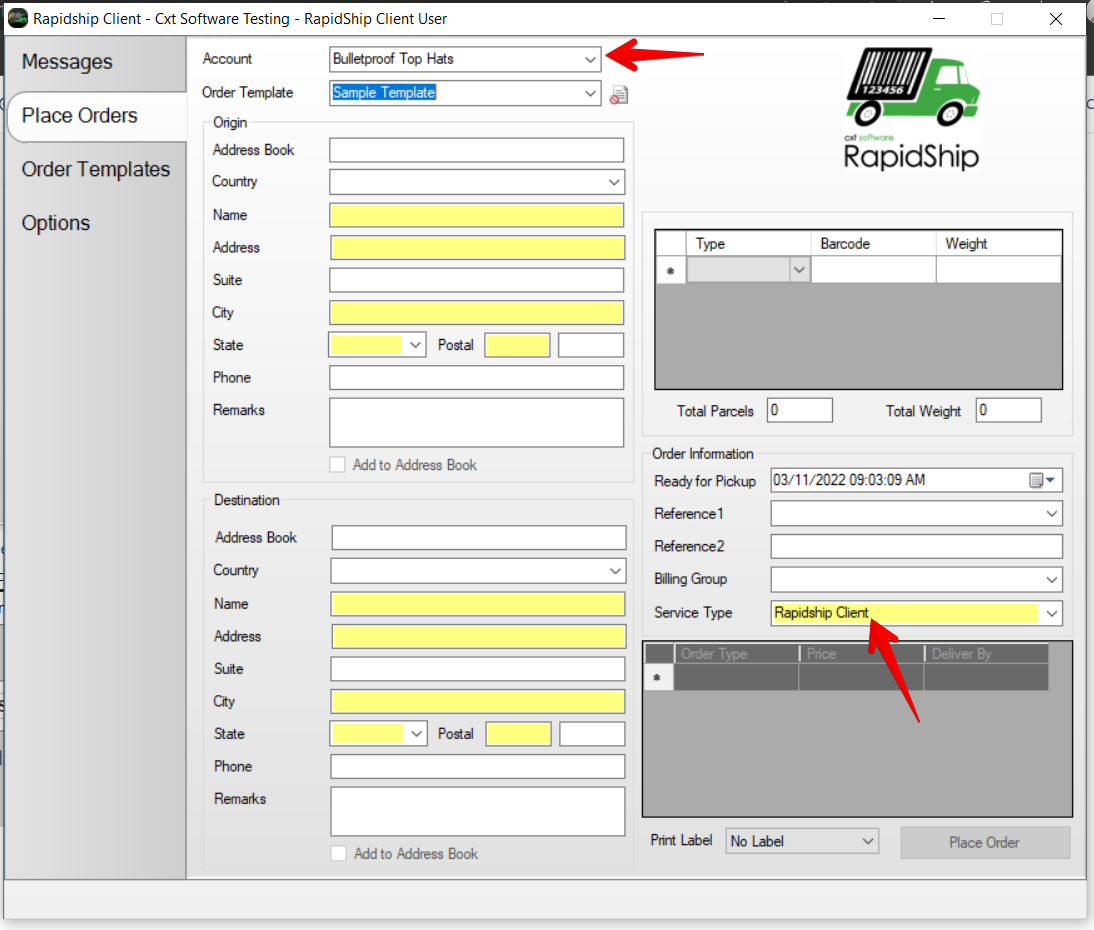
Now, position your cursor in the Address Book field and scan or paste a barcode. Since the Service Type is already set,
...
only one Order Type is available, so you can place the order with a single click of the
...
Place Order button after scanning.
...
Adding Parcels to Scanned Orders
If there are parcels that need to be added to the Orderorder, you can quickly add those with the scanner as well.
...
Follow the steps above but do not click “Place Order” yet.
...
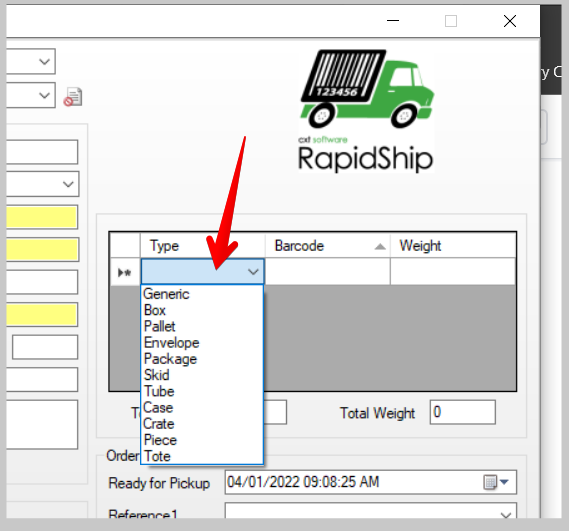
When placing an order, click on the dropdown in the Parcels section in the top right of the
...
Place Orders page and choose a
...
parcel type for the parcel you want to add
...
under Type.
...
...
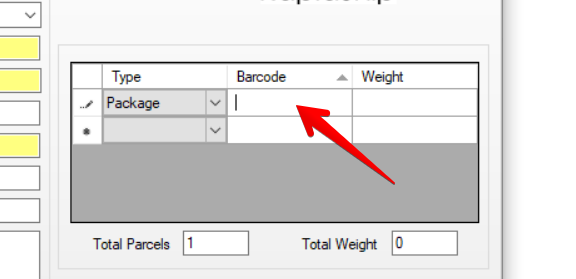
Place your cursor in the
...
Barcode field
...
.
...
...
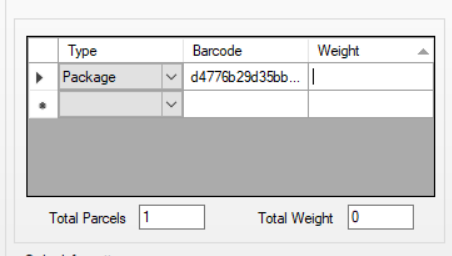
Scan the barcode of the parcel you are adding. The barcode reference value will be entered into the Barcode field as a text string as shown here
...
.
...
You may also add a Weight value for the parcel, and repeat these steps for any other parcels that need to be entered.
...
Now, when you click the Place Order button, the parcels you added will be included
...
in the created
...
order.