The Settlement QuickBooks Export feature allows easy transfer of X Dispatch settlement data to QuickBooks. When configured, settlement data can be exported via the "Settlements Display" screen then imported into QuickBooks.
Download/Up Date Report Format(s)
Before settlement data can be exported, download or check for updates for the report format(s) in the Advanced Find Service.
Requires X Dispatch 21.0 or newer for QuickBooks 2019+ Settlement Export (As Bill).
QuickBooks 2019+ Settlement Export (As Bill) requires the QuickBooks 2019+ "Advanced" version.
- Click the Find (BETA) button in the X Dispatch toolbar.
Go to the Advanced Find Service tab then click Report Formats.
- Click the download icon in the Actions column of the QuickBooks settlement you would like. If there is no download icon, then your report format is up to date and ready to be used.
How to Create a Settlement
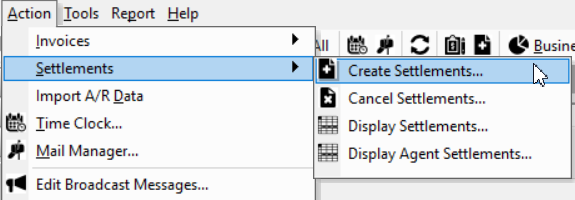
Go to the Action menu then Settlements > Create Settlements.
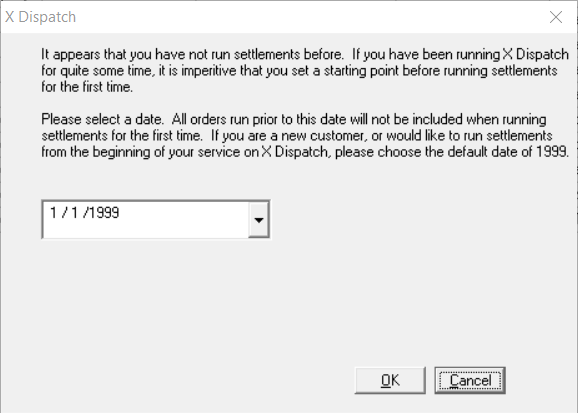
If this is the first time you are creating settlements in the Operations App, you will be asked to select a date as a starting point. It is recommended to leave the default date "1/1/1999". Changing the date could cause a settlement number of -1.
Make sure all fields are filled out in the Create Settlements form.
How to Export a Settlement
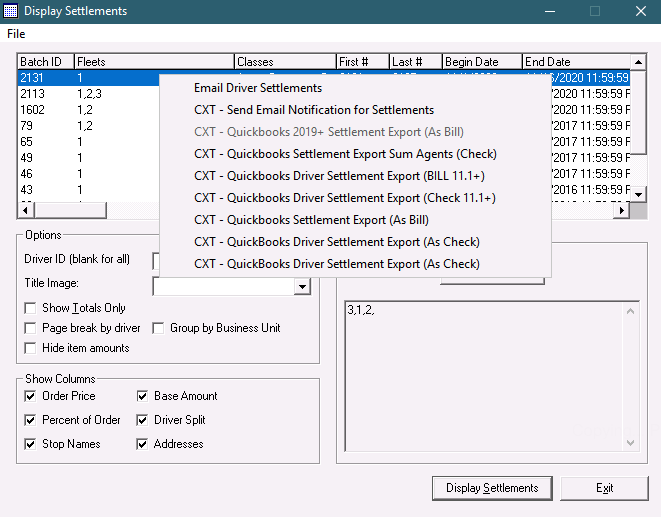
Go to the Action menu then Settlements > Display Settlements. See Display Settlements.
Right-click on batch to export and select the QuickBooks export you would like. If the QuickBooks export you would like is grayed out, you must download it in the Advanced Find Service tab of the Find tool.
Select location to save output file and press Save.
Click OK when confirmation appears.