Step-by-step guide
...
Set up X Tracking on your server. For more information see X Tracking Setup.
You will need to set the user password for logging in. This is done in Maintenance -> Permissions of the X Dispatch application.
| Div |
|---|
|
Open the permissions for the user for which the password will be changed. Enter the password in the available X Tracking Password fields, and then click OK.
...
| Table of Contents |
|---|
You can allow access to X Tracking only by creating a user in the Permissions section of X Dispatch which will allow the user to log in at URL/XInternet/XTracking/xtracking.asp
- Replace URL with the website URL. For Cloud customers, the website URL is https://CUSTID.cxtsoftware.net where CUSTID is your Customer ID. Cloud customers who do not know their URL can contact technical support.
| Tip | ||
|---|---|---|
| ||
Cloud customers can also open X Tracking from the Cloud Client.
|
How to Create a User for X Tracking Only
- Go to Maintenance > Permissions.
- Click the
 button.
 - Enter a username in the Permissions for field.
- Enter a password in the Password and Password Confirm fields.
- Under Filter type "Allowed Fleets".
Click the checkbox for Allowed Fleets and all of the fleets you would like the user to access.
Div 
Under Filter type "X Tracking".
Click the X Tracking checkbox.
Div 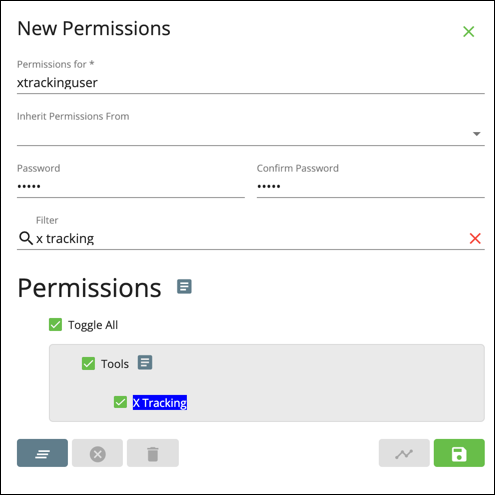
Click the
button.
How to Update an X Tracking Only User Password
- Go to Maintenance > Permissions.
- Double click on the user you would like to update.
- Enter the new password in the Password and Password Confirm fields.
- Click the
 button.