| Info |
|---|
For X Dispatch 21.0 or newerOperations App is continuously updating and page layouts may differ. See here for older other versions. |
| Anchor | ||||
|---|---|---|---|---|
|
| Table of Contents | ||
|---|---|---|
|
...
To access message formats go to Maintenance > Message Formats.

How to Add a New Message Format
- Go to Maintenance > Message Formats.
- Click the
 buttonthe New button in the toolbar.
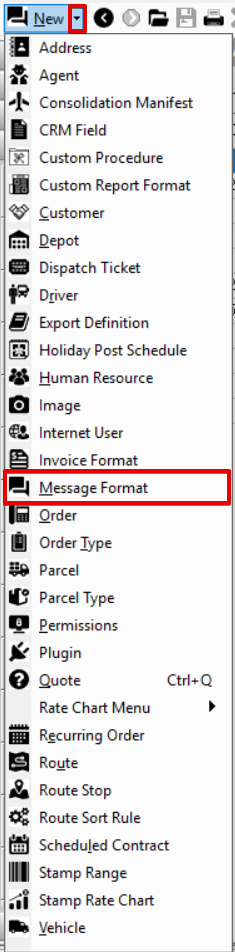
Alternate steps:
- Click the arrow next to the New button, or press the Alt + N keys.
- Click Message Format, or press the M key.
How to Copy a Message
...
Format
- Go to Maintenance > Message Formats.
- Right-click the message format you would like to copy.
Select Copy.
Div 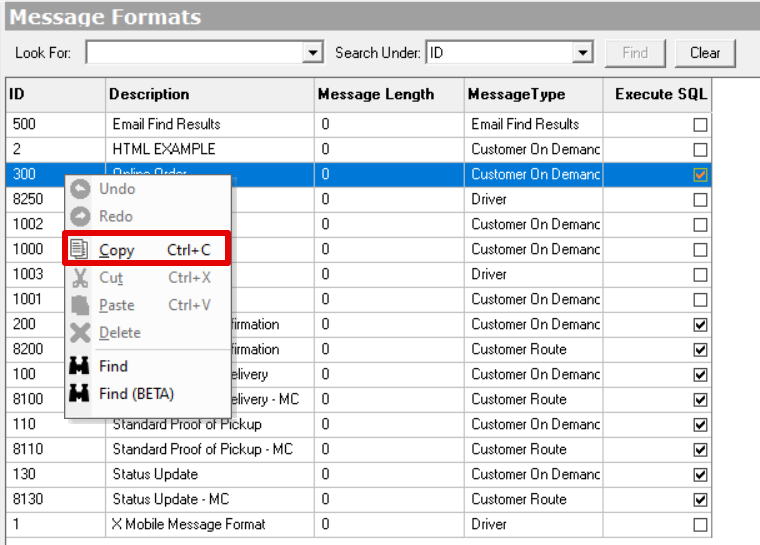
Enter a new Format ID and click OK.
...
Div 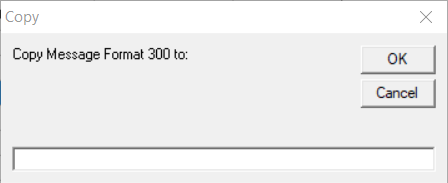
| Tip |
|---|
The message format will be created with the same Description as the message format you copied. Double click the message format you just created to edit and rename. |
Alternate steps:
- Go to Maintenance > Message Formats.
- Click the message format you would like to edit or right-click the row and select Edit.
Info - Press the Ctrl + C keys.
Enter a new Format ID and click OK.
Div
How to
...
Edit a Message Format
- Go to to Maintenance > > Message FormatFormats.
- Click Double-click the message format you would like to deleteedit.
Click the
 button.
...
How to Delete a Message Format
- Go to Maintenance > Message Format.
- RightDouble-click the message format you would like to delete and select Delete.
Section Functions
...
- .
- Click the Delete button at the bottom of the form.
...
Format Form
General

| Field Name | Description |
|---|---|
| Format ID | Unique numeric ID for the message format. |
| Description | Name that describes the message format. |
Message Format Form
General

| Field Name | Description | ||
|---|---|---|---|
| Message Type | The message type of the format.
| ||
| Format Dates Asdates as | The format that the date will display on the message. | ||
| Return Email Name | The name associated with the Return Email Address. The default value is "[OrderID]". | ||
| Return Email Address | The email address that a reply to the message will go to.
| ||
| CC Email Address | The email address that will be copied on the message. | ||
| Message Subject | The subject of the message. The default value is "[OrderID]". | ||
| Maximum length | The maximum length of the message that is created from this format. | ||
| Maximum Length | The maximum length of the message that is created from this format. | ||
| Sequence Fields | Visible when Message Type is set to "Driver" and enabled when Message Subsystem is set to "X Mobile". | ||
| Message Subsystem | Visible when Message Type is set to "Driver". How the message will be delivered to the driver.
| ||
| TCP Protocol | Visible when Message Type is set to "Driver". The TCP (Transmission Control Protocol) the message format will use. It will be either SMTP or SNPP. SNPP is the only option when Message Subsystem is set to "X Mobile". | ||
| Server | Visible when Message Type is set to "Driver". The server the message format is using. | ||
| Port | Visible when Message Type is set to "Driver". The port the message format is using. | ||
| Delay Message | The number of seconds to delay the message. |
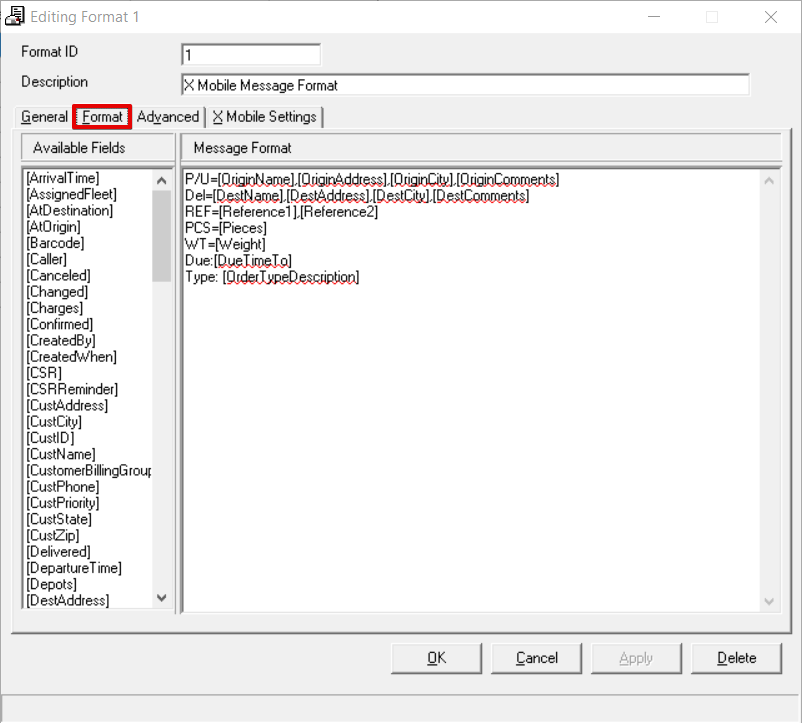
Format
The Format tab allows you to set up the message to be sent. Use Available Fields to add auto-populated information to the message by clicking on the one you want to use and dragging it to the Message Format section. Alternatively, you can place your cursor where you'd like the Available Field added in the Message Format section then double-click the Available Field to bring it over. Available Fields available vary based on the Message Type in the General tab. For "Customer On Demand" and "Customer Route" message types, you can preview your message after setting up the Message Format.
| Tip | ||
|---|---|---|
| ||
|

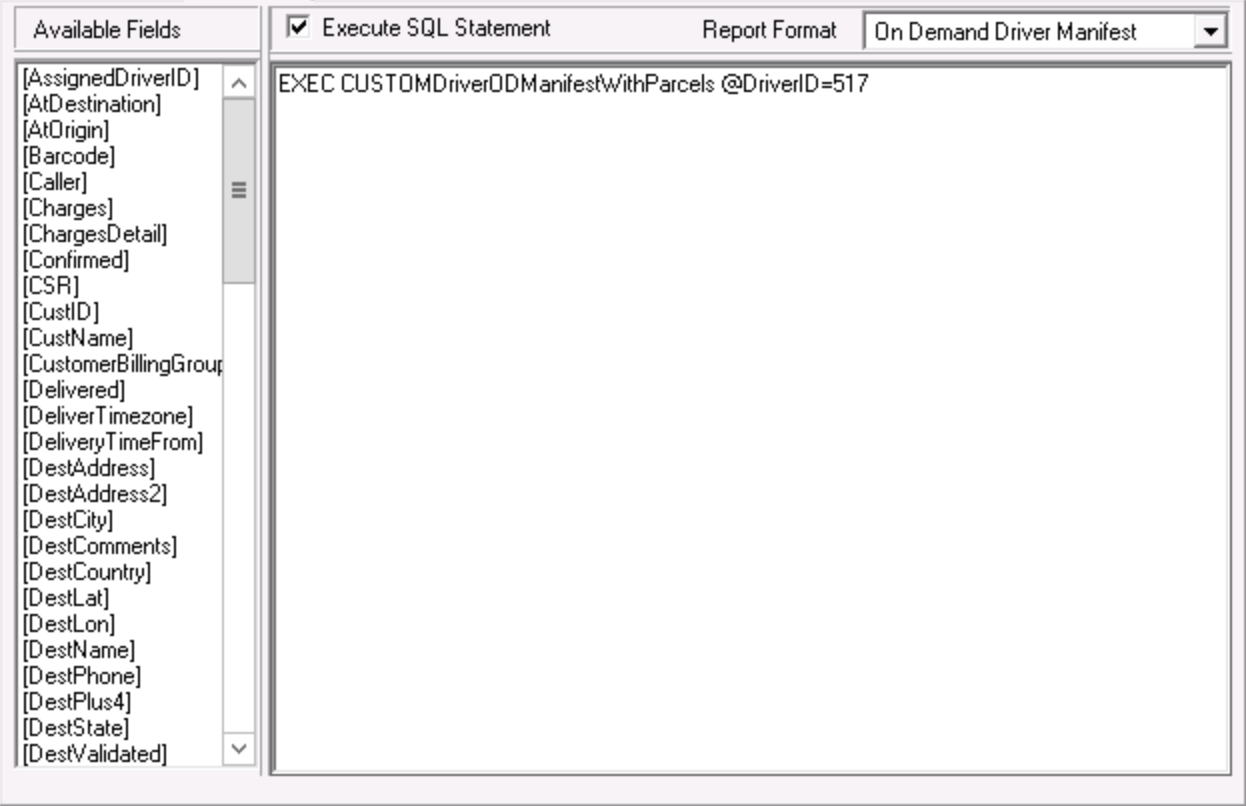
Advanced
The Advanced tab allows you to execute a custom SQL statement when the message format is triggered and/or use a report format for the message format. For "Customer On Demand" and "Customer Route" message types, you can preview your message.


Execute Custom SQL
Check the Execute SQL Statement checkbox and then click the ![]() . Use the Query Builder to create a query using the Available Fields, SQL Syntax, Tables/Views, and Table/View Columns.
. Use the Query Builder to create a query using the Available Fields, SQL Syntax, Tables/Views, and Table/View Columns.  enter the SQL you would like to execute in the text are below.
Use Report Format
Select the Report Format you would like to use.

How to Preview Message Formats
You can preview the message format without having to send a test email for "Customer On Demand" and "Customer Route" message types. This works for previewing messages with standard Available Fields and Text as well as HTML and SQL Statements.
...
Enter the order ID or stop ID in the Preview section.
| Div |
|---|
 |
...
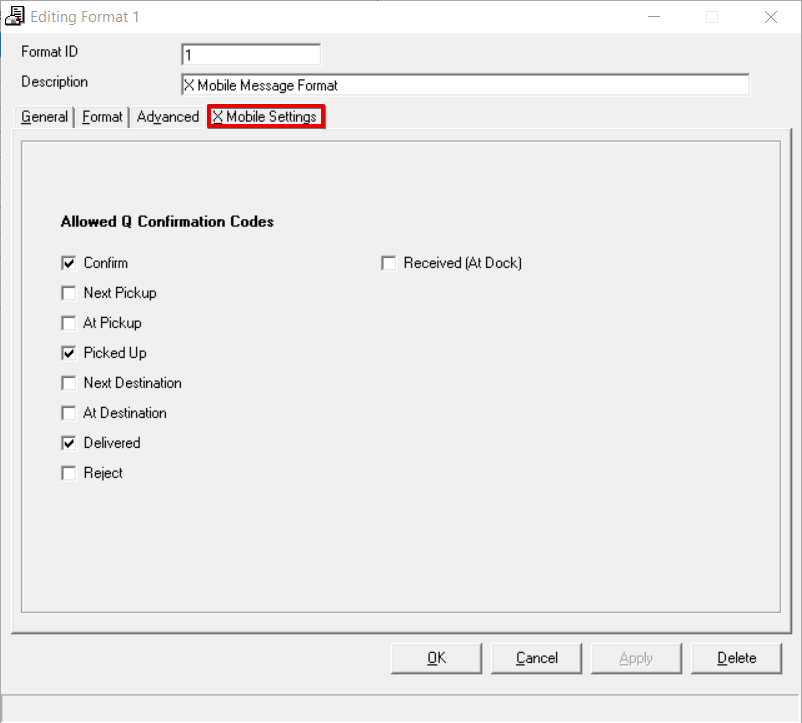
X Mobile Settings
The X Mobile Settings tab is visible when Message Type is set to "Driver". The X Mobile Settings tab allows you to select which actions are available in X Mobile when using the message format.
Message Formats in X Dispatch
Customers
Select message formats to send your customers in the Alerts section in the Contact tab of the customer record. See Customers - New/Edit Customer.

Drivers
Select the message format sent to the driver in the driver record. See Drivers (Desktop Classic Operations App).

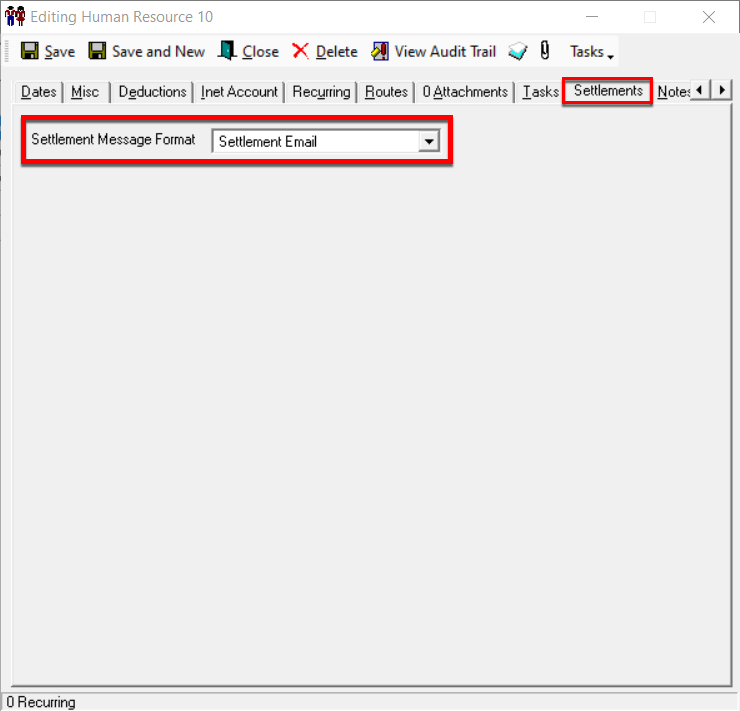
Human Resources
Select the message format to send the human resource in the Settlements tab of the human resource record. See Human Resources - New / Edit Human Resource.