| Anchor | ||||
|---|---|---|---|---|
|
...
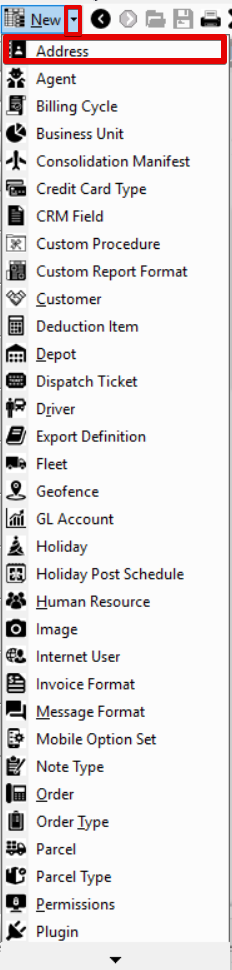
Go to Maintenance > Addresses and click the New button in the toolbar.
Div Alternate Steps
Click the arrow next to the New button, or press Alt + N keys and select Address.
- Enter the address information. Required information to validate an address is:
Address
Info The Address field is the street address in "US Postal Code" format. This includes numeric address, street name, and proper prefixes (N, S, E, W, etc), suffixes (Place, Pl, Road, Rd, Lane, Ln), and abbreviations when used. If a suite or room number is included in this field, the validation process will move it to the Suite/Room/Apartment field.
- City
- State/Zip/+
Enter a Customer ID for the address to be customer specific. The default is set to 0, meaning all customers can use the address. See Global Address vs Customer Specific Address for more information.
- Automatically or manually validate the address:
Click the Process Address button to automatically validate an address.
- Check the Validated checkbox to manually validate an address.
...
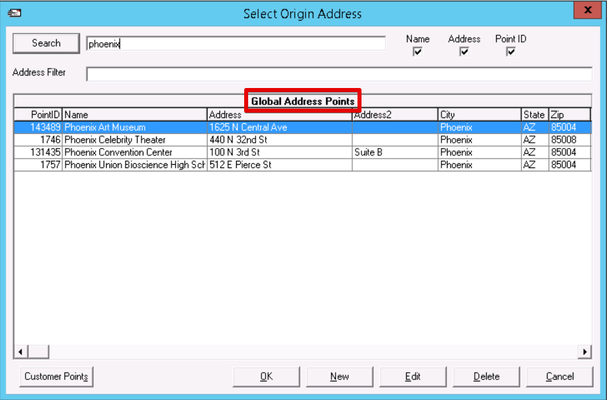
A global address is available when placing orders for any customer in X Dispatch. A customer specific address is available to only that specific customer ID during order placement inside X Dispatch.
| Note |
|---|
"Allow Customer Address Points" in the Orders tab of the customer record must be checked to view customer specific addresses. See Customers - New/Edit Customer for more information. |
Example
Customer 1 has a customer specific address for the Phoenix Zoo.
...
However, if the Phoenix Art Museum is set up as a global address, where the Customer ID is set to 0, then both Customer 1 and Customer 1106 can see the Phoenix Art Museum address.
| Page Properties | ||
|---|---|---|
| ||
|