...
| Info |
|---|
Operations App is continuously updating and page layouts may differ. See here for other versions. |
| Table of Contents |
|---|
Images are used in several places throughout X Dispatch, and the web services. For example company logos, shipping labels, invoice formats, etc.
| Tip | ||
|---|---|---|
| ||
If you are having trouble uploading an image because of the size, see How to Configure Image Settings for more information. |
How to Add an Image
Images added must be in one of the following formats: JPG, BMP, GIF, or PNG (PNG requires X Dispatch 21.0.4 or newer).
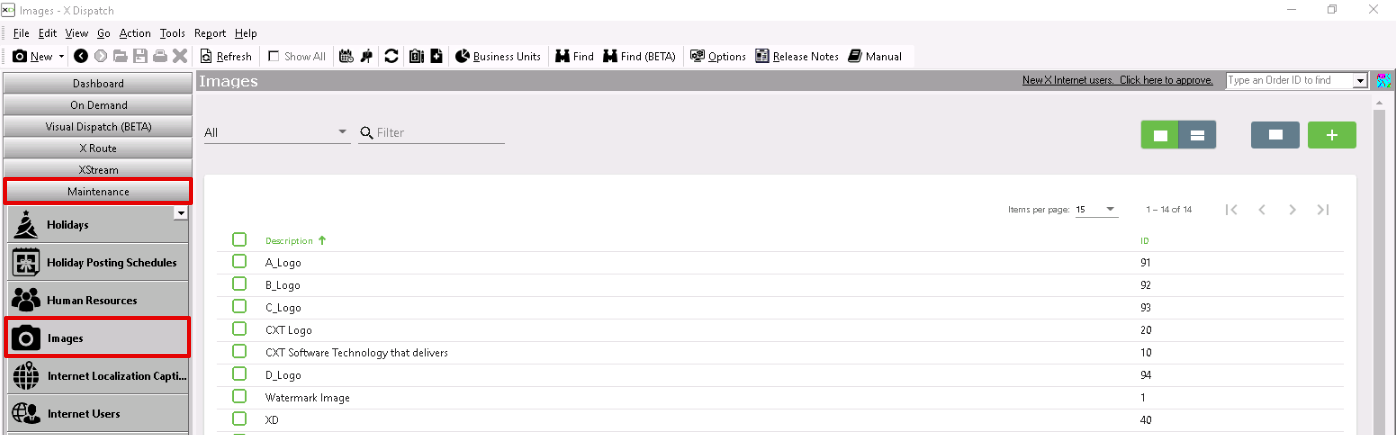
- Go to Maintenance > Images.Click the
 button..
 - Click the New button in the toolbar.
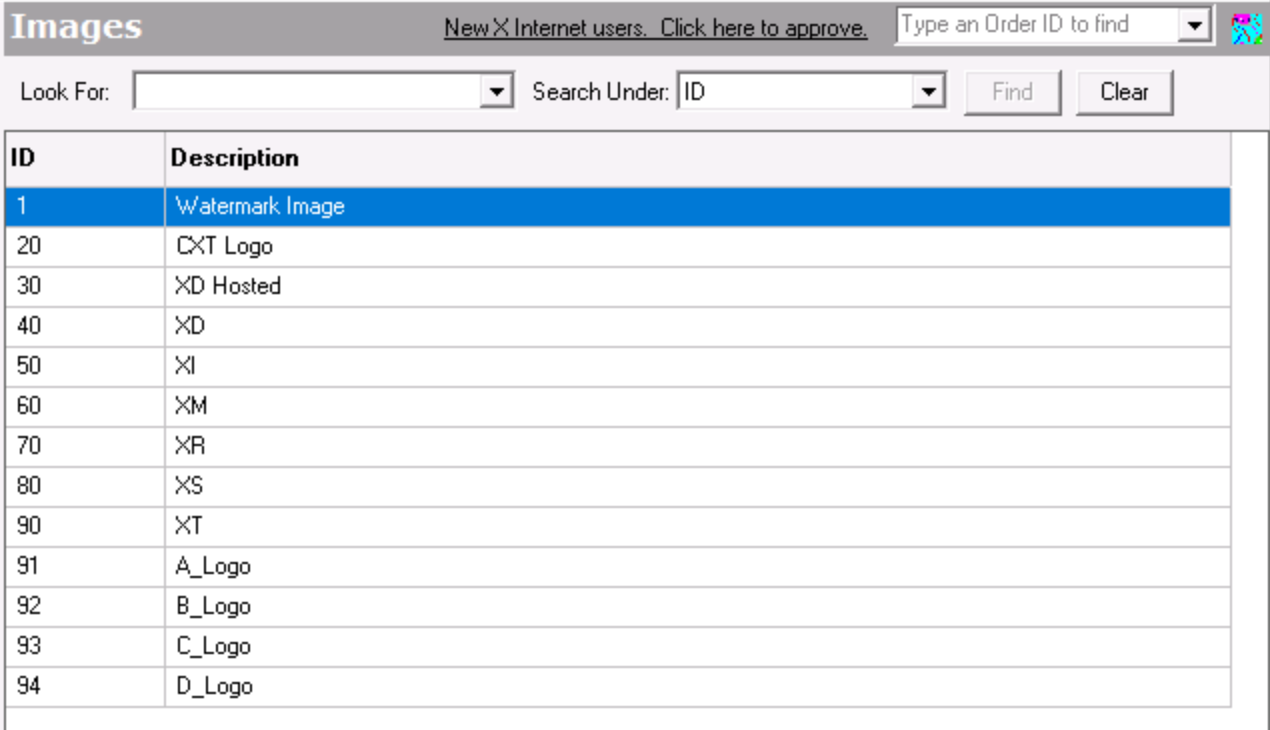
Enter a unique Image Number.
- Enter a Description that will be displayed when selecting an image for use in X Dispatch.
Click the empty field, find and select the image you would like to use.
Note If you are having trouble uploading an image because of the size, see How to Configure Image Settings for more information.
Click Open.
- Click Save and Close.
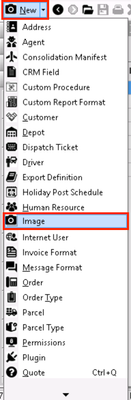
Alternate Steps
- Click the arrow next to the New button, or press Alt + N keys.
- Select Image.
How to Edit an Image
| Warning |
|---|
Changing the Image Number will break the link in X Dispatch using the image, and the image will no longer show. |
Go
toto Maintenance
>> Images.
- Click Double-click on the image you would like to edit or right-click the row and select Edit.
Info
| Note |
|---|
If you are having trouble uploading an image because of the size, see How to Configure Image Settings for more information. |
How to Delete an Image
- Go to to Maintenance > Images.
- Click Double-click on the image you would like to delete.
Click the
Click Ok to confirm you would like button File > Delete.
 Div 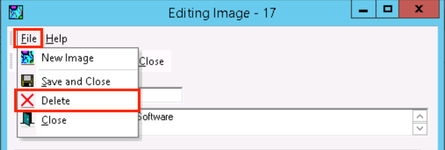
A message asking if you are sure you want to delete the image will pop up. Click Yes.
Alternate steps
- Go to Maintenance > Images.
Right-click the image you would like to delete and select Delete.
Div 
| Note |
|---|
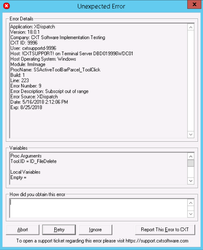
If the image you are trying to delete is currently in use, an error message Unexpected Error will be displayed.
|

How to Download an Image
- Go to Maintenance > Images.
Click the image you would like to delete.
Click the
 button.
Section Functions
|