For driver documentation see Receiving.

Tap Receiving in the menu to view the Facilities page. The Facilities Near You list will display facilities, or depots, when the driver is within a 2 mile GPS range of the address of a facility, or depot, while the Other Facilities list displays depots further away. Facility, or depot, must be active to display in the list.

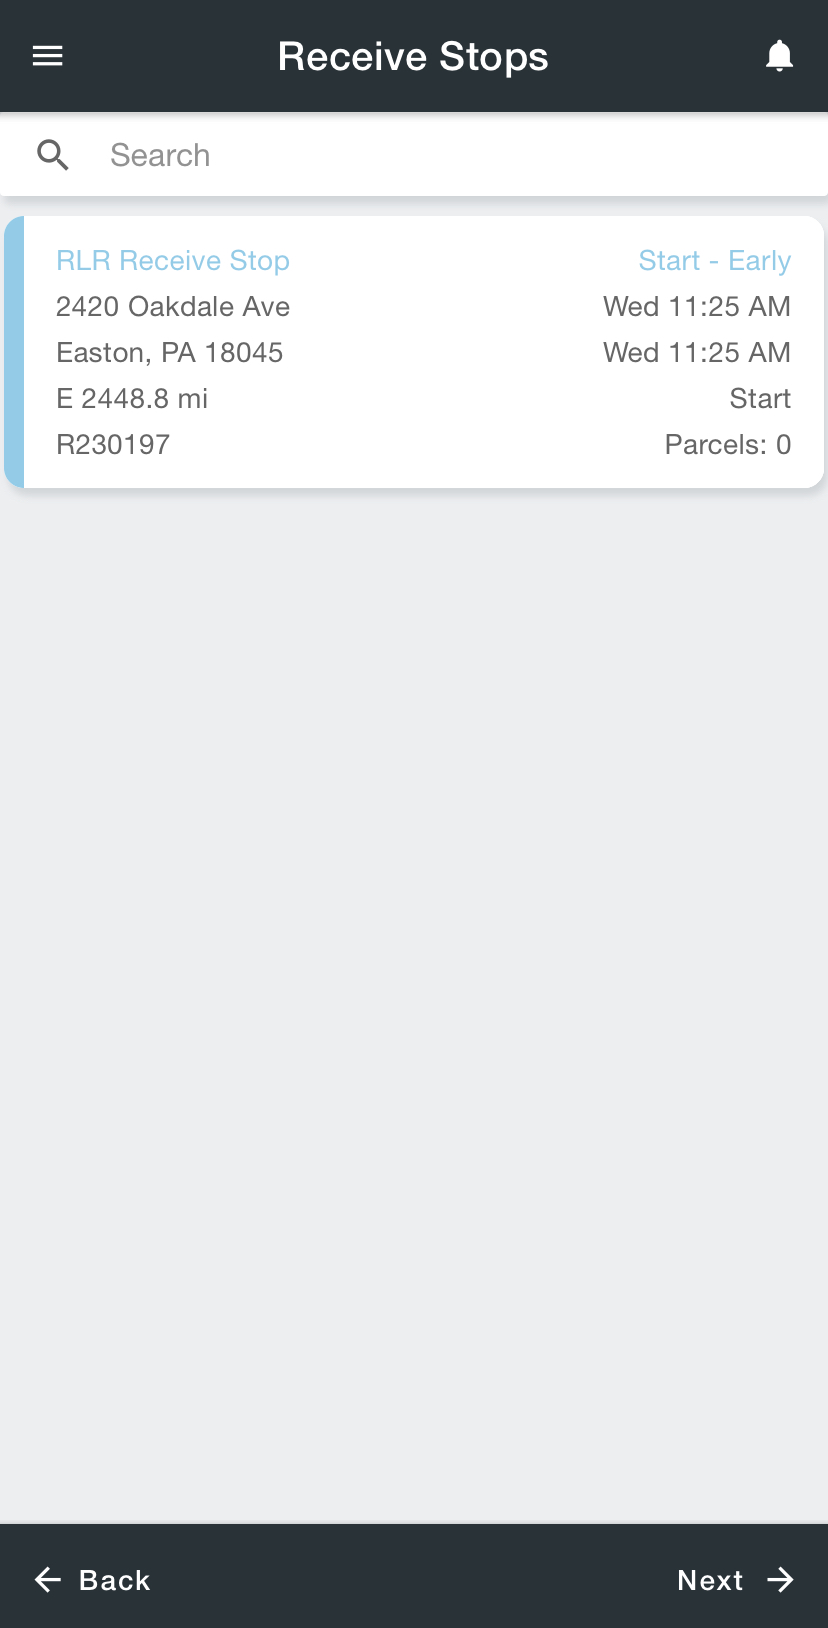
How to Open a Receive Stop

  1. Tap Receiving in the menu on the top left.

  2. Tap the name of the facility, or depot, that represents the correct location/address.

  3. Tap on the receive stop to open.

How to Scan at a Receive Stop

For master barcodes, see Master Barcodes.

  1. Open the receive stop.

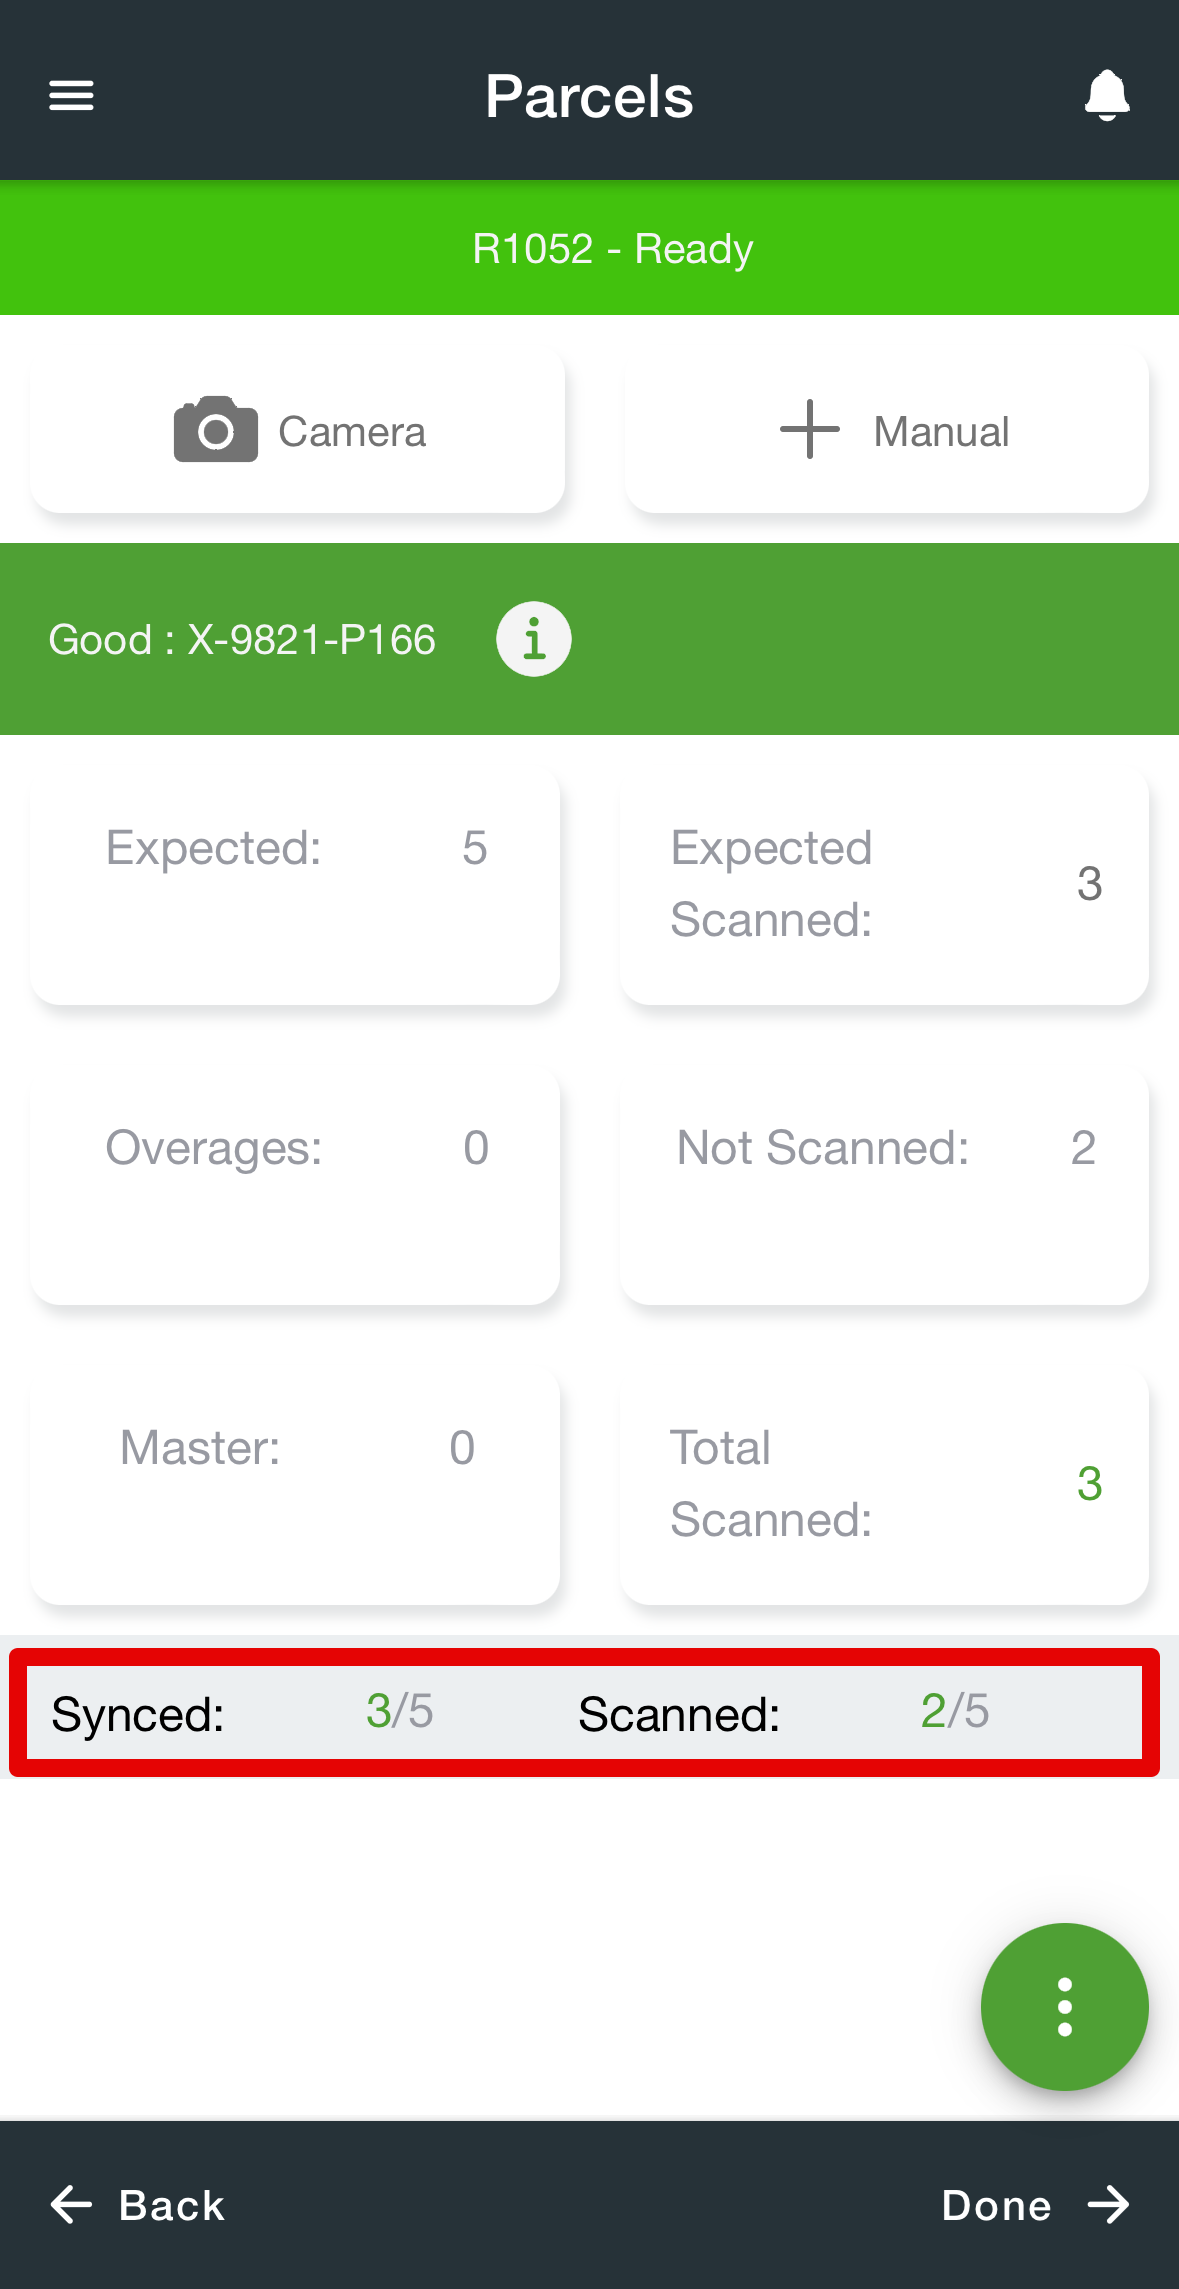
  2. Begin scanning by using a Bluetooth scanner, clicking Camera to scan using the mobile device’s camera, or click Manual to manually enter a parcel.

More than one person can log into Receive stops and scan parcels simultaneously. The driver can view the number of parcels Synced (all parcels scanned) and the number of parcels that the driver has Scanned.

The receive stop should not be marked Done until all parcels have been scanned. If any user marks the Receive stop as Done, it closes the stop for all users.

How to Batch Scan at a Receive Stop

Requires Driver App 3.1 or newer.

  1. Open the receive stop.

  2. Scan an expected parcel.

  3. Tap the green options menu icon in the bottom right.

  4. Select Batch Scan.

Restrict Drivers from Doing Work for Certain Depots

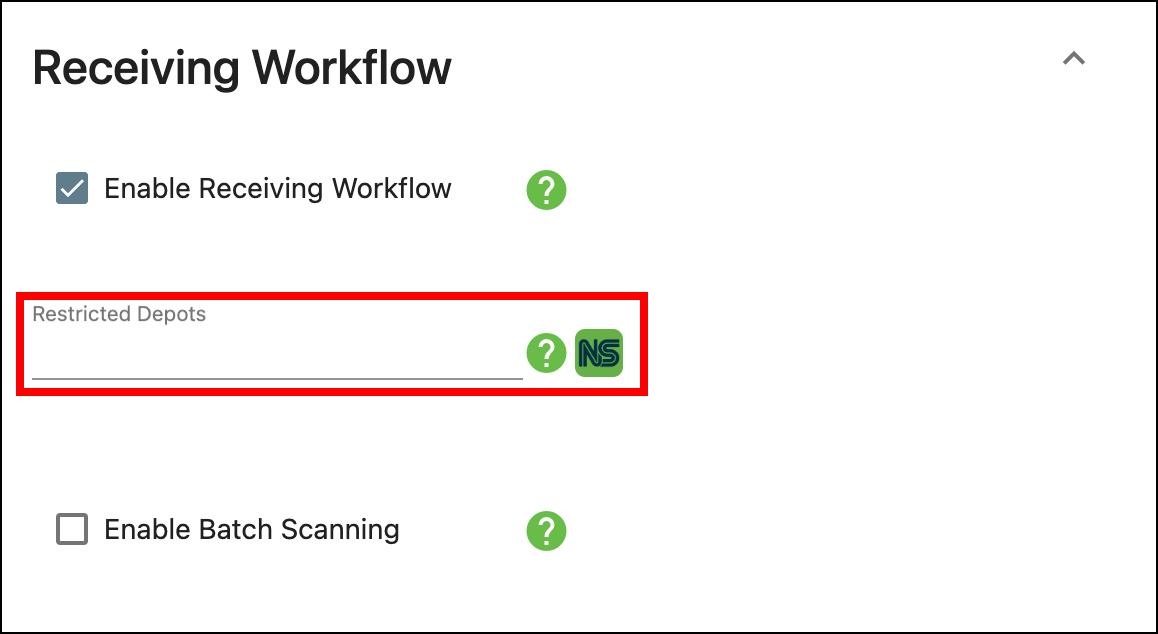
You can restrict which drivers are able to complete work for which depots via Mobile Option Sets.

  1. Go to the Mobile Option Set section for a group of drivers or the Mobile Option Set tab for an individual driver.

  2. In the Receive Workflow section add the depot to the Restricted Depots.
Related Articles

Related pages

Receiving

CXTU Courses/Lessons

  • Drivers & Mobile App: Driver App (Nextstop)

  • Routes & Distribution: Driver App Experience