For driver documentation see Parcels.
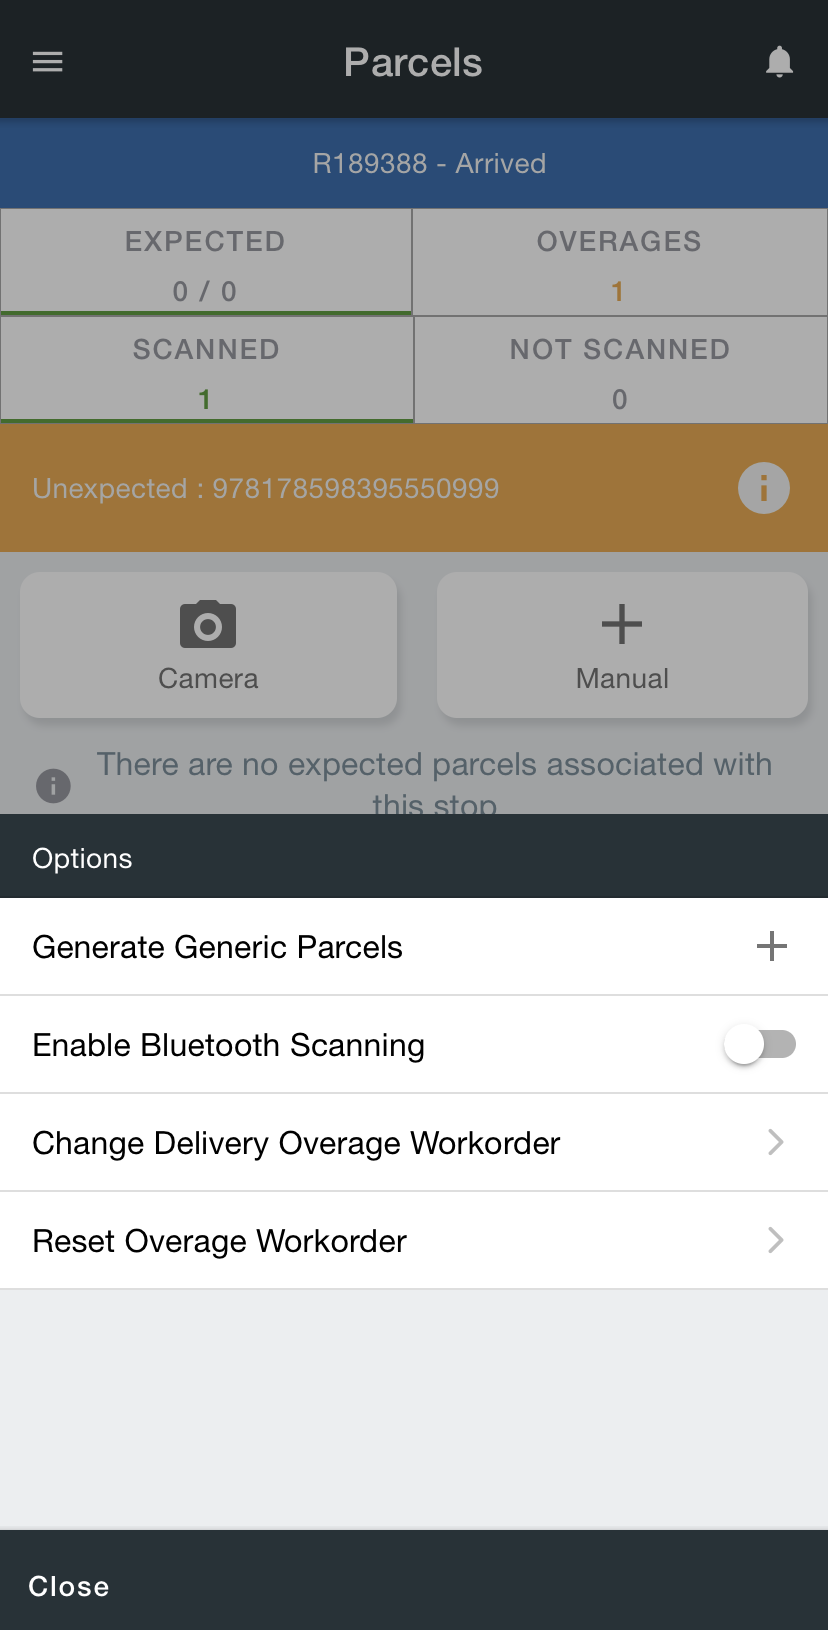
The Parcels screen displays all parcels associated with the stop and allows drivers to scan, manually enter, or edit parcels.
Tap EXPECTED to view the parcels expected for the stop or OVERAGES to view the unexpected parcels and SCANNED to view the parcels already scanned or NOT SCANNED to view parcels that have not been scanned yet. The selected view options will have a green line under the number.
Options Menu
Tap the green option menu icon on the bottom right.
Add a Parcel
Scan Barcode with Bluetooth Scanner
Go to the Stops List.
Select the stop to add the parcel(s) to.
Tap Parcels.
Scan the barcode.
Scan Barcode with Camera
Go to the Stops List.
Select the stop to add the parcel(s) to.
Tap Parcels.
Tap Camera.
Scan the barcode.
Manually Enter Barcode
Driver(s) must have the “Overage Scanning” mobile option set to “Enabled” or “Warn”.
To allow all or a group of drivers to manually enter barcodes, go Maintenance > Mobile Option Sets. See Mobile Option Sets.
To allow specific drivers to manually enter barcodes, go to Maintenance > Mobile Users. See Mobile User.
Go to the Stops List.
Select the stop to add the parcel(s) to.
Tap Parcels.
Tap Manual.
Enter the barcode.
Generate Generic Parcel
Go to the Stops List.
Select the stop to add the parcel(s) to.
Tap Parcels.
Tap the green options menu in the bottom right.
Select Generate Generic Parcels.
Edit a Parcel
When scanning a distribution parcel, information about the route and the parcel’s next (chained) stop can be displayed. This field may not be accessible and information may vary due to your user’s permission setup.
See Parcel Edit in Nextstop 3 for more information.
Unscan a Parcel
Go to the Stops List.
Select the stop to add the parcel(s) to.
Tap Parcels.
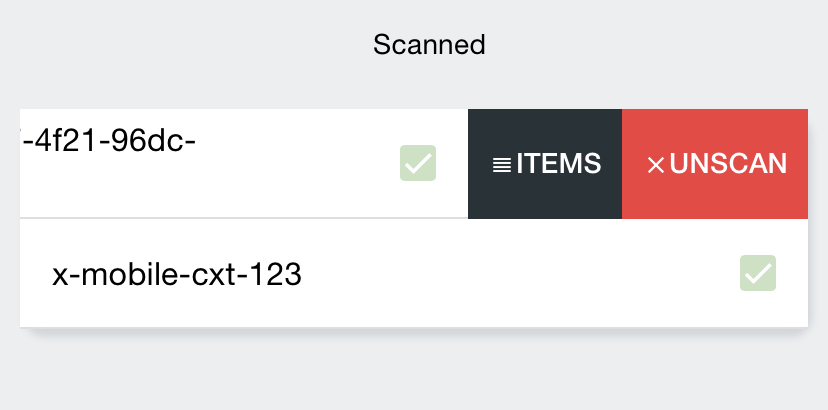
Swipe the parcel to unscan to the left.


